If a spreadsheet feels too big to understand, an Excel PivotTable can turn raw rows into clear totals in minutes. This guide shows how to create an Excel PivotTable, arrange fields, group dates, and filter results so you can answer questions like “sales by month” or “top products” without complex formulas. After 10 minutes, you’ll have a clean summary and know how to refresh it when your data changes.
Introduction
You open an Excel file and see thousands of rows: dates, product names, amounts, regions. You want one simple answer—like total revenue per month, or how many orders each customer placed—but scrolling and adding manual sums quickly becomes messy.
A PivotTable is built for exactly this situation. It summarizes data interactively: you can rearrange the view, drill into details, and filter to the part you care about. That makes it useful for everyday tasks such as tracking expenses, analyzing survey results, or reviewing work hours—without writing complicated formulas.
The steps below work in modern Excel versions (Microsoft 365 and recent perpetual versions on Windows; the core workflow is similar on macOS). The goal is a PivotTable you can trust, update, and reuse.
Basics and Overview: Create an Excel PivotTable (what it really does)
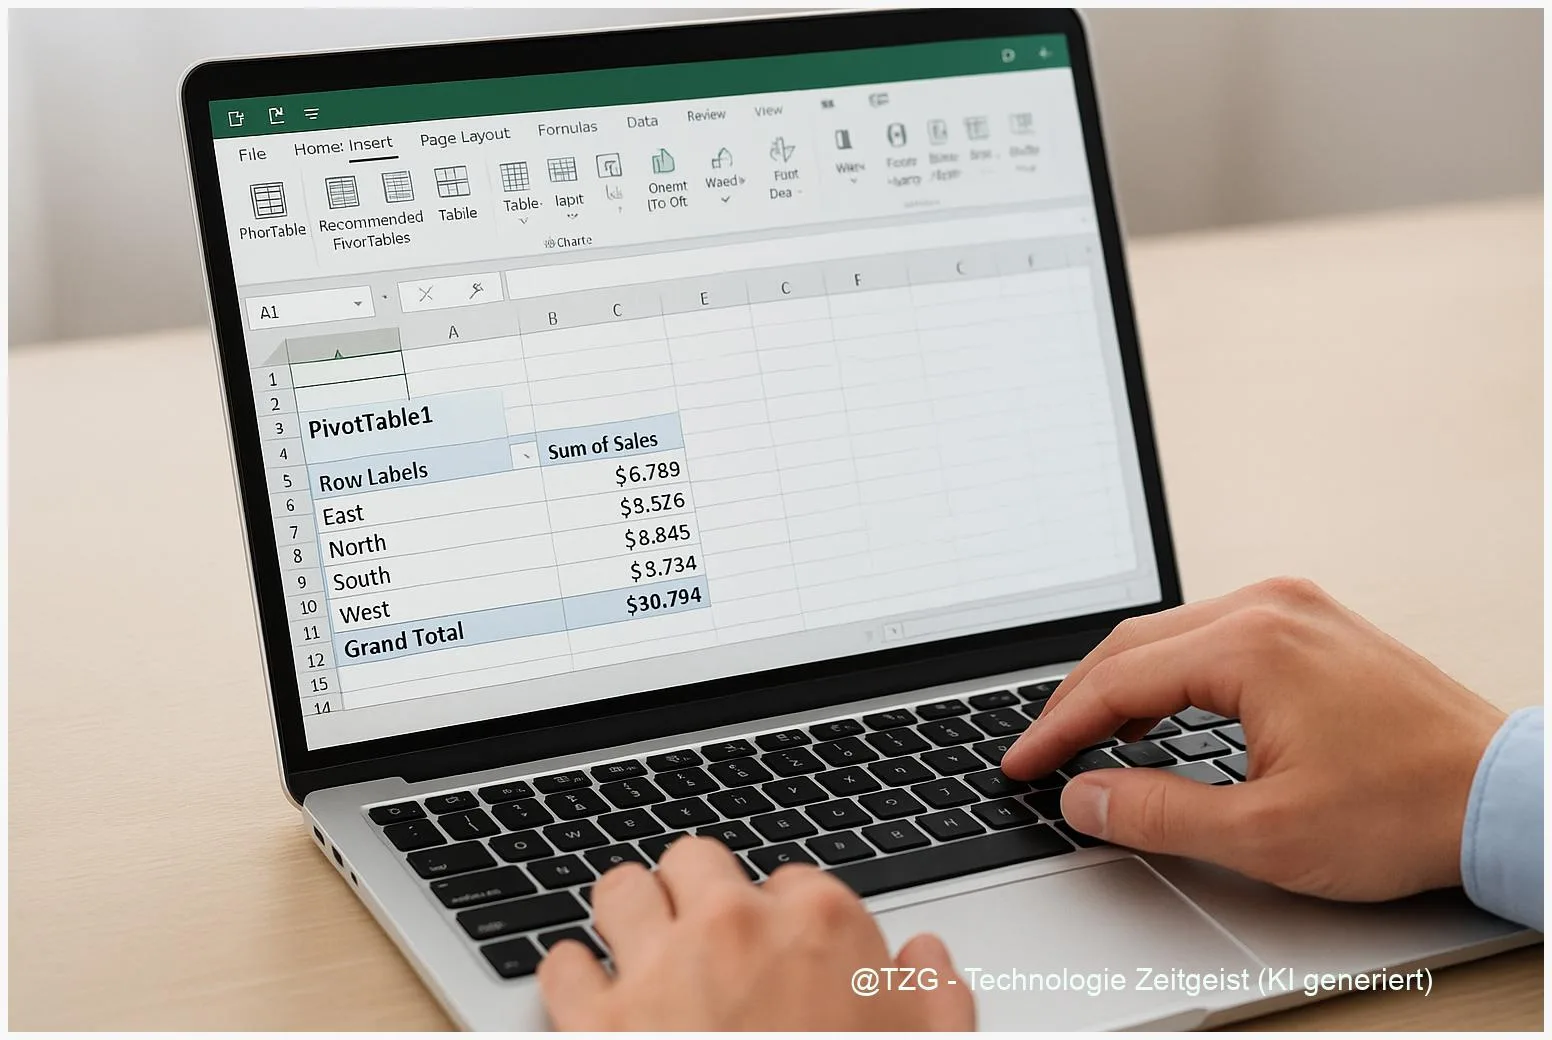
A PivotTable is an interactive summary view built from a “source” table. You choose which fields should become categories (for example, “Region” in rows), which fields should become numbers (for example, “Revenue” in values), and Excel calculates totals for you.
The key idea: you are not changing the original data. You are building a report on top of it. In most cases, Excel stores the source snapshot in a PivotTable cache and can refresh it later when the source changes.
A PivotTable is like a flexible report designer: the same data can answer many questions, just by moving fields around.
You’ll see a field list with four areas: Rows, Columns, Values, and Filters. Drag fields into these areas (or tick checkboxes) to shape the report. If you want to go deeper later, TechZeitGeist also explains practical layouts and common mistakes in its PivotTable walkthrough: Pivot table step-by-step guide (TechZeitGeist).
| Option or Variant | Description | Suitable for |
|---|---|---|
| PivotTable from a single table | Summarize one clean list of data (recommended starting point). | Most everyday Excel files (sales, expenses, hours, surveys). |
| PivotTable with grouped dates | Turn daily dates into months/quarters/years for readable trends. | Time-based data like budgets, subscriptions, or order history. |
Preparation and Prerequisites
PivotTables are fast when the source data is clean. Spend two minutes preparing and you’ll avoid most errors later.
Check these prerequisites before you start:
- Your data has a header row (clear column names like Date, Product, Amount). Avoid merged cells in the header.
- Each column contains one type of information (don’t mix text and numbers in the same column if you can avoid it).
- No completely blank rows or columns inside the list. They can break the detected range.
- Dates are real dates, not text that only looks like a date. If grouping fails later, this is often the reason.
- Best practice: convert the range into an Excel Table: click any cell in your data and press Ctrl + T (Windows) or use Insert > Table. A Table automatically expands when you add new rows—very helpful for refreshing.
If you are working with sensitive data (for example personal contact details), consider creating the PivotTable on a copy of the file or removing columns you don’t need for the analysis. A PivotTable can only summarize what you give it.
Step-by-Step Instruction
The following workflow matches the standard method documented by Microsoft for creating a PivotTable from worksheet data. Menu names can differ slightly between Windows and macOS, but the structure is the same.
- Select your source: click any cell inside your data list (or Excel Table). You usually do not need to highlight the full range manually.
- Insert the PivotTable: go to Insert > PivotTable. Excel opens a dialog and suggests the table/range it detected.
- Choose where the PivotTable should go: pick New Worksheet for a clean start (recommended) or Existing Worksheet if you already have a dashboard area. Confirm with OK.
- Build the first view in the PivotTable Field List:
- Drag a category field (for example Region or Product) to Rows.
- Drag a numeric field (for example Amount or Revenue) to Values.
- Fix the calculation if needed: if Excel shows “Count of Amount” but you need totals, open the drop-down next to the value field, choose Value Field Settings, then switch to Sum (or Average, Max, etc.).
- Add filters for quick answers: drag a field like Year, Status, or Channel into Filters. You can then pick one value at the top of the PivotTable.
- Group dates (optional but common): if you placed a Date field in Rows, right-click one date in the PivotTable and choose Group. Select Months, Quarters, and/or Years for a readable time view.
- Refresh after changes: when you edit the source data, click inside the PivotTable and use PivotTable Analyze > Refresh (or a similar Refresh command) so the report matches the latest rows.
If everything worked, you’ll see a compact table with totals, expandable row items (small plus/minus icons depending on layout), and a field list that lets you reshape the report in seconds.
Tips, Troubleshooting, and Variants
Most PivotTable frustrations come from a small set of issues. These fixes cover the typical stumbling blocks.
Problem: New rows don’t show up. Refresh the PivotTable. If rows are still missing, your PivotTable might point to a fixed range. Consider converting the source to an Excel Table (Ctrl + T) and then use PivotTable Analyze > Change Data Source to point to the Table name.
Problem: Grouping dates is greyed out or fails. At least one “date” is stored as text or blank. Check the source column for empty cells or mixed formats. Once the source is corrected, refresh and try grouping again.
Problem: Totals look wrong. Confirm the value calculation (Sum vs Count). Also check whether amounts are stored as text (often left-aligned). Converting the column to numbers in the source and refreshing usually fixes it.
Tip: Keep formatting stable. PivotTables may resize columns during refresh. Excel provides layout and formatting options for PivotTables if you want the report to stay visually consistent after updates.
Variant: Multiple tables. If your data is split across several tables (for example Orders and Customers), Excel can create PivotTables from multiple tables using the Data Model. This is powerful, but for a first PivotTable, one clean table is the fastest way to succeed.
If you want more Excel cleanup routines before analysis, TechZeitGeist’s Excel tag overview can be a useful starting point: Excel tutorials on TechZeitGeist.
Conclusion
PivotTables are one of the quickest ways to turn a long Excel list into decisions you can act on. Once your data has clear headers and consistent formats, you can create a PivotTable, place fields into Rows and Values, and get instant totals—then refine the view with filters and date grouping. The most important habit is simple: refresh after changing the source, so your summary stays correct. With this workflow, you can build reusable reports without drowning in manual formulas.
Try building one PivotTable from a real file you use (expenses, workouts, orders) and share what confused you most—those details are often where the best shortcuts appear.


Leave a Reply