If your laptop gets lost or stolen, your files can be copied from the drive in minutes. This guide shows how to BitLocker Windows 11 aktivieren and encrypt your system drive or a data drive, step by step. You will learn what BitLocker does, what you need (TPM 2.0, admin rights, a saved recovery key), and how to confirm encryption is working—without guesswork.
Introduction
Many people protect Windows with a login password and feel “safe enough”. But a password mainly protects access while the PC is running normally. If someone takes the physical drive out of the device—or boots from another system—unencrypted data can still be readable.
That’s exactly the gap BitLocker is built to close. It encrypts the entire drive so the data stays scrambled without the correct key. In everyday life, that matters when you travel with a laptop, leave a PC in a shared office, sell a used SSD, or simply want stronger privacy at home.
The process is not difficult, but one detail decides whether BitLocker becomes a lifesaver or a headache: the recovery key. The steps below guide you through enabling BitLocker in Windows 11 and storing the recovery key safely so you can still access your PC after a firmware update or other hardware changes.
Basics and Overview: What BitLocker does in Windows 11
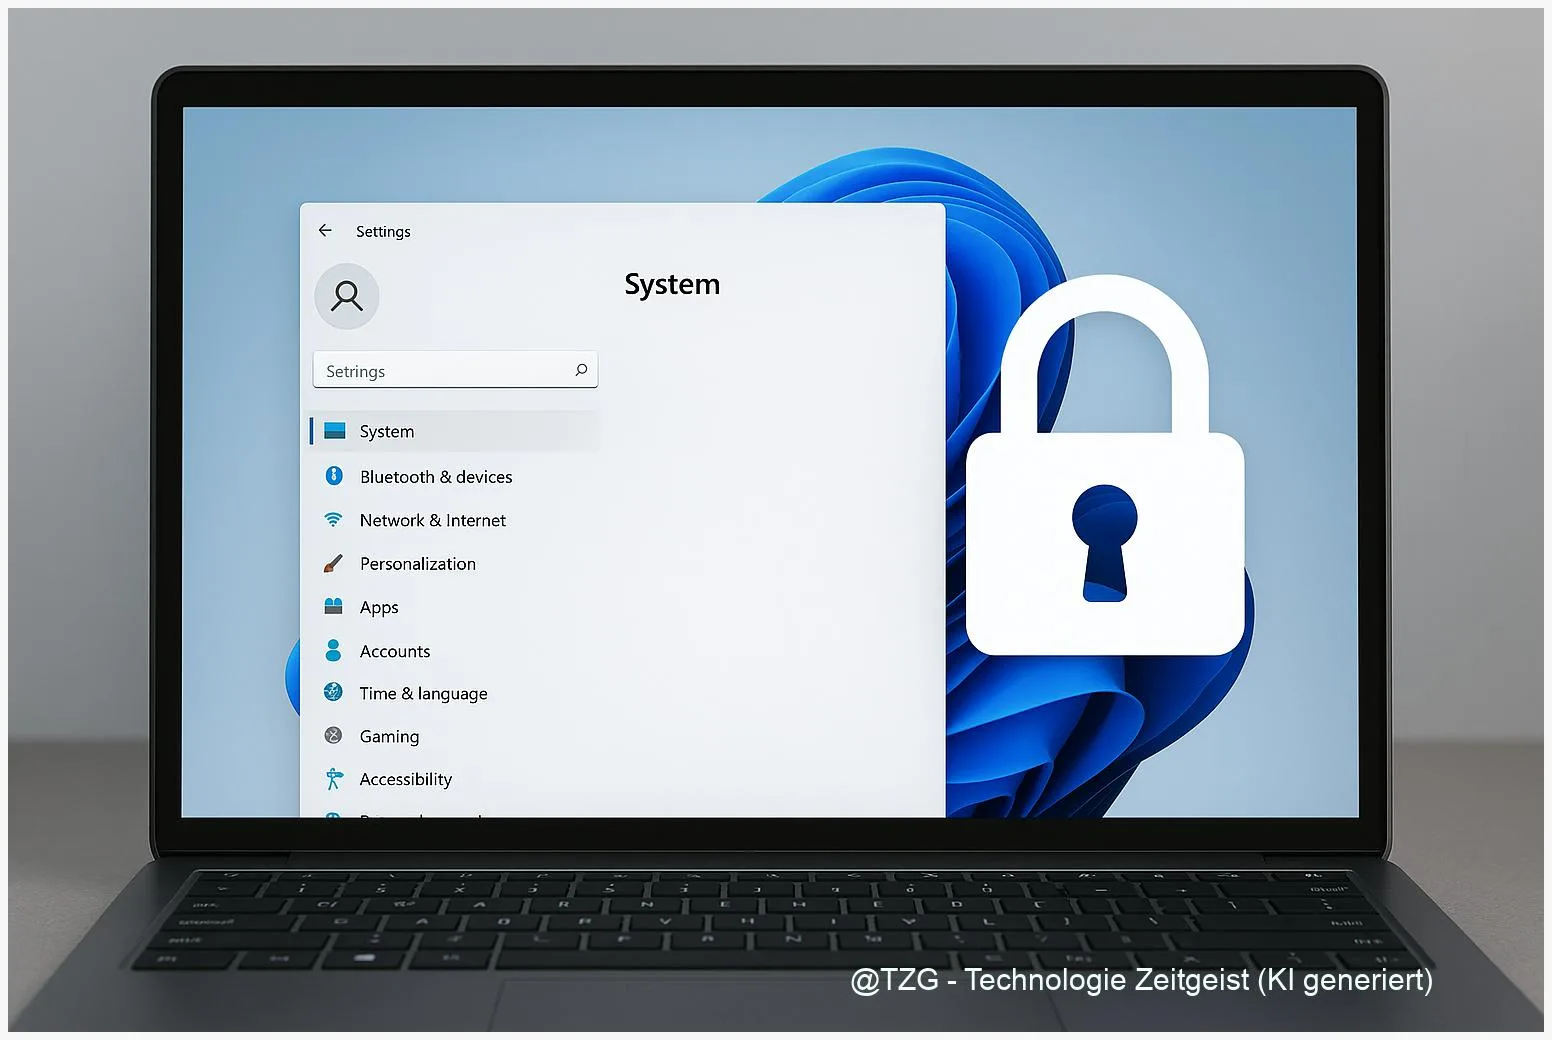
BitLocker is Microsoft’s built-in full-disk encryption. “Full-disk” means it protects everything on the drive: Windows itself, apps, and your personal files. When BitLocker is on, Windows unlocks the drive during startup using protected keys. If the drive is moved to another computer, it stays locked.
On many modern Windows 11 devices you may also see Device encryption. That is a BitLocker-based feature that can enable encryption automatically on compatible hardware (for example with TPM 2.0 and Secure Boot). Depending on your Windows edition and device model, you might manage encryption via Settings (Device encryption) or via the classic “Manage BitLocker” panel.
BitLocker is strongest when the unlock key is protected by hardware: a TPM (Trusted Platform Module) chip that helps ensure the system hasn’t been tampered with at boot.
Two terms you should know: the TPM (a security chip on the motherboard) and the BitLocker recovery key (a 48-digit code). The recovery key is your emergency access method if Windows requests recovery after certain changes.
| Option or Variant | Description | Suitable for |
|---|---|---|
| Device encryption (Settings) | BitLocker-based encryption that can be enabled from Windows Settings on supported devices. | Many modern laptops, including Windows 11 Home devices that support it. |
| BitLocker Drive Encryption (Manage BitLocker) | Full BitLocker management with clear options for OS and data drives (and typically more control). | Windows 11 Pro, Enterprise, or Education—especially for PCs with multiple drives. |
Preparation and Prerequisites (TPM 2.0, backups, recovery key)
Before you encrypt anything, plan for two things: a smooth setup and reliable recovery. Encryption is usually safe, but you never want your first backup strategy to start after turning on BitLocker.
Check these prerequisites first:
- Admin rights: You need an administrator account to enable BitLocker.
- Power and time: Keep the device plugged in. Initial encryption can take a while depending on drive size and speed.
- TPM 2.0 (recommended): Press Windows key and search for tpm.msc. The console should show a TPM is present and ready. (Windows 11 devices typically use TPM 2.0.)
- Secure your recovery key: Microsoft recommends backing it up, for example to your Microsoft account, a USB drive, a file, or a printout—stored separately from the device.
- Back up important files: Use an external drive or a trusted cloud backup.
If this is a work or school device, your organization may manage BitLocker and recovery keys centrally. In that case, follow internal IT guidance so you don’t lock yourself out.
Step-by-Step Instruction: Enable BitLocker and encrypt your drive
The steps below cover the two most common paths in Windows 11: enabling encryption from Settings (Device encryption) or from the BitLocker management screen. Use the path you actually see on your PC.
- Decide what to encrypt. For most people, start with the system drive (usually C:). If you store sensitive data on another internal drive, encrypt that one too.
- Check whether you have “Device encryption”. Open Settings → Privacy & security and look for Device encryption. If you see it, open it.
- Turn on Device encryption (if available). Switch Device encryption to On. Windows will start encrypting in the background. Keep the PC on and plugged in until it finishes.
- If you do not have Device encryption: open Manage BitLocker. Press the Windows key and search for Manage BitLocker. Open the result that leads to BitLocker Drive Encryption settings.
- Turn on BitLocker for the drive. Next to the drive (for example Operating system drive (C:)), choose Turn on BitLocker (wording can vary slightly).
- Choose how you want to unlock the drive. On TPM-equipped systems, Windows typically uses the TPM automatically. Some configurations also allow a PIN at startup for extra protection (your screen will tell you what’s available).
- Back up the recovery key immediately. Pick a secure option such as saving it to your Microsoft account, saving to a USB drive, saving to a file, or printing it. Store it where you can reach it even if the PC is not booting.
- Select encryption scope. Windows may ask whether to encrypt only used space or the entire drive. Used-space-only is faster for new PCs; full-drive encryption can be better if the drive already contained many files.
- Start encryption and wait for completion. Start the process and let it run. You can often keep working, but performance may be slower during encryption.
- Verify the status. Return to Manage BitLocker (or the Device encryption page) and confirm the drive shows encryption is on. Also check that you can still sign in normally after a restart.
Good sign you did everything right: Windows boots as usual and the drive is shown as protected/encrypted in the BitLocker overview. If Windows ever asks for recovery, you can retrieve the recovery key from the location you saved.
Tips, Troubleshooting, and Variants
1) Windows asks for the recovery key after an update. This can happen after certain firmware/UEFI changes or other boot-related changes. Use the recovery key you saved. If you backed it up to your Microsoft account, Microsoft provides a page to retrieve it (see Sources).
2) You cannot find BitLocker in Windows 11 Home. Many Home devices offer Device encryption instead of full BitLocker management. Check Settings → Privacy & security. If neither option exists, your hardware may not support it.
3) TPM issues (TPM not found / not ready). First, check tpm.msc. If the TPM is disabled, it may need to be enabled in UEFI/BIOS. Microsoft provides model-agnostic guidance for enabling TPM 2.0 (see Sources). If you are unsure, ask the device vendor’s support or IT.
4) Practical safety tips for everyday use.
- Store the recovery key separately from the device. A USB stick that lives in the laptop bag defeats the purpose.
- Keep at least two recovery key copies (for example: Microsoft account plus a printed copy in a safe place).
- Before major hardware changes (like motherboard replacement), clarify recovery steps first. In managed environments, IT may handle this.
5) Turning BitLocker off (only if you really need to). In Manage BitLocker, you can choose to Turn off BitLocker (decryption). This takes time and temporarily reduces protection. Consider pausing changes instead of fully turning it off.
Conclusion
BitLocker is one of the most effective ways to protect your Windows 11 data against offline access—especially on portable devices. The workflow is straightforward: confirm prerequisites, enable encryption (via Device encryption or Manage BitLocker), and let Windows finish encrypting in the background. The most important habit is also the simplest: store the recovery key safely and separately, so a boot change or firmware update doesn’t turn into a lockout. Once set up, BitLocker quietly protects your files every day without changing how you work.
Have you already enabled encryption on your PC, or did you run into a recovery-key prompt? Share what worked for you—and which Windows 11 screen labels you saw—so others can follow along with confidence.


Leave a Reply