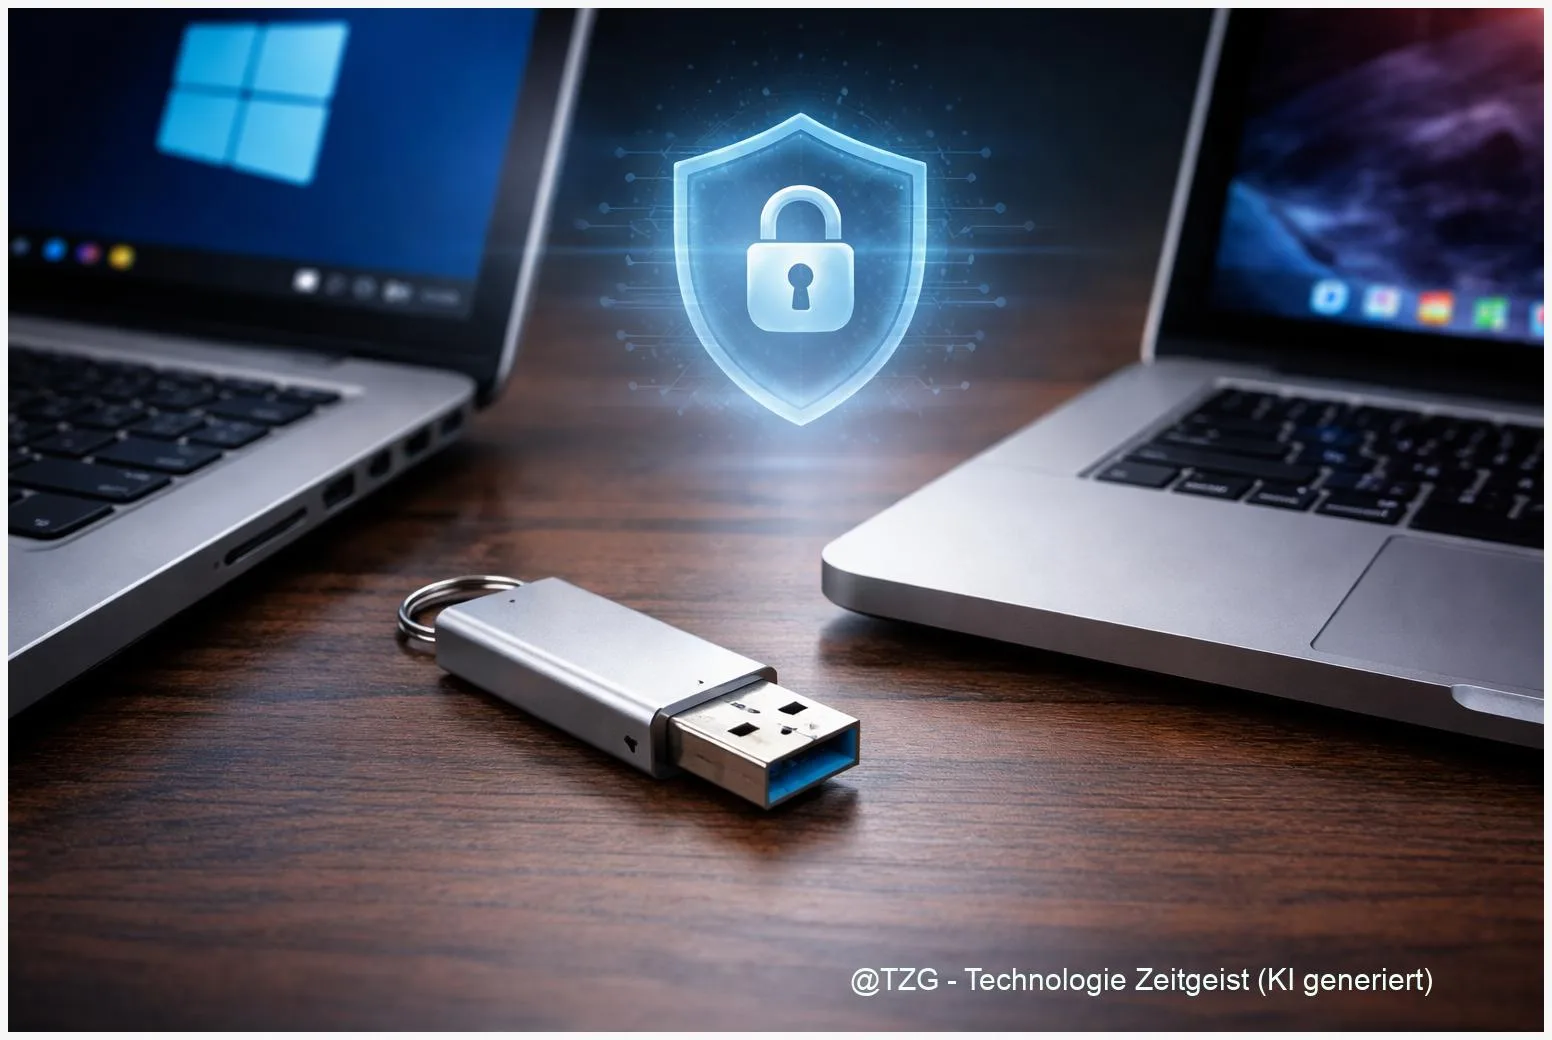
A lost USB stick can expose private photos, school files, contracts, or saved passwords. This guide shows how to encrypt a USB drive with the built-in tools on Windows and macOS: BitLocker To Go and Disk Utility (APFS Encrypted). You will learn what encryption really does, what you need before you start, and the exact steps to set a strong password and keep a safe recovery option.
Introduction
USB drives are convenient because they work almost anywhere: at school, in the office, on a friend’s laptop, or at a print shop. That same convenience becomes a risk the moment the drive gets lost, borrowed, or left in a shared PC. Without encryption, anyone can plug it in and browse your files like an open folder.
Encryption fixes that by locking the entire drive with a password. Even if somebody copies the raw data, it stays unreadable without the key. The good news: you do not need extra software for the common cases. Windows (in certain editions) includes BitLocker To Go, and macOS includes Disk Utility with APFS Encrypted. The steps below focus on reliable defaults, clear UI paths, and the most important safety detail: not losing access yourself.
Basics and Overview: what “encrypted USB” means in practice
When you encrypt a USB drive, your computer converts the data on that drive into scrambled information that only becomes readable after you unlock it with a secret (usually a password). This is called full-disk (or full-volume) encryption, because it protects the entire storage area, not just single files.
On Windows, the built-in option is BitLocker To Go (BitLocker for removable drives). On macOS, the typical option is formatting the drive as APFS Encrypted in Disk Utility. APFS is Apple’s modern file system; “Encrypted” means it is password-protected at the file-system level.
Encryption is strongest when you treat the password like the key to your home: if you lose it (and your recovery option), the lock works perfectly — even against you.
One important difference: BitLocker can create a separate recovery key (a 48-digit code) that can unlock the drive if you forget the password. With macOS APFS-encrypted external drives, recovery options are limited in comparison; in many everyday setups, the password is effectively the only key. So your password management matters as much as the encryption itself.
| Option or Variant | Description | Suitable for |
|---|---|---|
| Windows BitLocker To Go | Encrypts removable drives with password + recovery key; unlock prompt appears when you plug it in. | Windows users who need a built-in solution and may unlock the drive on different PCs. |
| macOS Disk Utility (APFS Encrypted) | Formats the drive as APFS with encryption; macOS asks for the password when mounting. | Mac users who mainly use the drive on macOS and want a simple, native workflow. |
Preparation and Prerequisites
Before you start, decide how you will use the USB drive. Do you need it on both Windows and Mac? Or only on one platform? The built-in tools work best when the drive stays in their ecosystem. Cross-platform use is possible, but it adds trade-offs (and often extra apps), so this guide keeps the focus on native BitLocker and Disk Utility.
Check these prerequisites first:
- Backup anything you can’t lose. macOS encryption via Disk Utility often involves “Erase”, which wipes the drive. BitLocker usually does not wipe, but a backup is still the safest plan.
- Windows edition: BitLocker To Go is available on Windows Pro, Enterprise, and Education. Many Windows Home installations do not offer BitLocker for removable drives.
- Admin rights: On Windows, you typically need an administrator account to enable BitLocker. On macOS, you need permission to erase/format drives.
- Time and power: Encryption can take minutes to hours, depending on drive speed and how much data is on it. Keep laptops plugged in.
- Password plan: Use a strong, unique passphrase (long beats complex). Store it in a password manager you trust, not on the same USB drive.
- Recovery plan (Windows): Decide where the BitLocker recovery key will be saved (Microsoft account, file, or printout). Do not store it only on the encrypted drive.
If you want extra background on how Windows drive encryption works, TechZeitGeist has a general overview at Windows 11: enable BitLocker and encrypt a drive (useful context, even if the steps below focus on USB drives).
Step-by-Step Instruction: encrypt a USB drive on Windows and macOS
The steps below cover both systems. Pick the section that matches the computer you are currently using. If menus look slightly different, focus on the key terms (BitLocker, Disk Utility, Erase, APFS Encrypted) rather than exact button placement.
- Windows (BitLocker To Go): connect the USB drive. Open File Explorer, find the drive under “This PC”, then right-click it and choose Turn on BitLocker. If you do not see this option, try searching Windows for Manage BitLocker and open it.
- Choose how to unlock. Select Use a password to unlock the drive, then set a strong passphrase. A good practical rule is a long phrase you can type reliably.
- Save the recovery key (Windows). Choose one method offered by Windows (for example, saving to your Microsoft account, saving to a file, or printing). This recovery key is your safety net if the password is forgotten.
- Pick encryption scope (Windows). Windows may ask whether to encrypt used disk space only (faster for a new or mostly empty drive) or the entire drive (safer if the drive previously held sensitive files). Confirm your choice.
- Start encryption and wait. Keep the drive connected until Windows reports completion. Afterward, you should see a lock symbol on the drive icon, and Windows will ask for the password the next time you plug it in.
- macOS (Disk Utility): decide whether you can erase. If the drive contains important data and you do not have a backup, stop and back it up first. Disk Utility encryption is most straightforward when you reformat the drive.
- Open Disk Utility and show all devices. Go to Applications > Utilities > Disk Utility. In the menu, choose View > Show All Devices so you can select the physical drive (not only a volume).
- Erase and encrypt on macOS. Select the USB drive in the sidebar (top-level device), click Erase, set a name, then choose Format: APFS (Encrypted). For “Scheme”, select GUID Partition Map when available. Enter a strong password and, if offered, a password hint you would not mind others seeing.
- Finish and test unlock. After Disk Utility finishes, eject the drive, plug it back in, and confirm macOS asks for the password. If the system offers “Remember this password in my keychain”, only use that on a personal Mac you fully control.
If everything worked, your Windows drive will show BitLocker status in “Manage BitLocker”, and your Mac drive will mount only after entering the password. A quick sanity check: try unplugging and reconnecting once, so you see the unlock prompt with your own eyes.
Tips, Troubleshooting, and Variants
Problem: “Turn on BitLocker” is missing on Windows. The most common reason is the Windows edition. BitLocker To Go is generally available on Pro/Enterprise/Education. On many Home systems, you may only see “Device encryption” for internal storage, not for USB drives.
Problem: You forgot the BitLocker password. Use the 48-digit recovery key you saved during setup. If you stored it in a Microsoft account, you typically retrieve it from your account’s recovery key list. If you cannot find the key, do not trust random “recovery tools” you find online; encryption is designed to resist that.
Problem: macOS drive asks for a password, but you are not sure where it’s stored. If you chose to store it in Keychain on that Mac, it may unlock automatically. That is convenient, but it also means anyone with access to your unlocked Mac account may access the drive. For shared computers, avoid saving it.
Tip: Use a password manager and a realistic passphrase. Long passphrases are easier to type and can still be very strong. Store the password and (on Windows) the recovery key separately from the USB drive.
Variant: Encrypt an existing APFS volume without erasing (Mac). Depending on how the drive is formatted, macOS may offer an “Encrypt” option in Finder when you right-click a mounted volume. This can be useful when you cannot erase immediately, but it may take time and is not available for all formats.
Variant: If you need Windows + Mac access. Native encryption tools are optimized for their own platforms. If you must work across both systems, plan this upfront and test on both machines before trusting the drive with your only copy of important data.
Conclusion
Encrypting a USB drive is one of the simplest ways to prevent accidental data leaks from everyday loss or theft. On Windows, BitLocker To Go adds a password prompt and a recovery key you can store safely. On macOS, Disk Utility with APFS Encrypted gives you a clean, native password lock—especially when you can reformat the drive first. The key to a smooth experience is preparation: back up your data, choose a strong passphrase, and make sure you can still unlock the drive after a restart and reconnect.
Have you encrypted your USB drive before, and did you run into any surprises (missing BitLocker option, password prompts, cross-platform issues)? Share what worked for you, and pass this guide to anyone who still carries sensitive files on an unprotected stick.


Leave a Reply