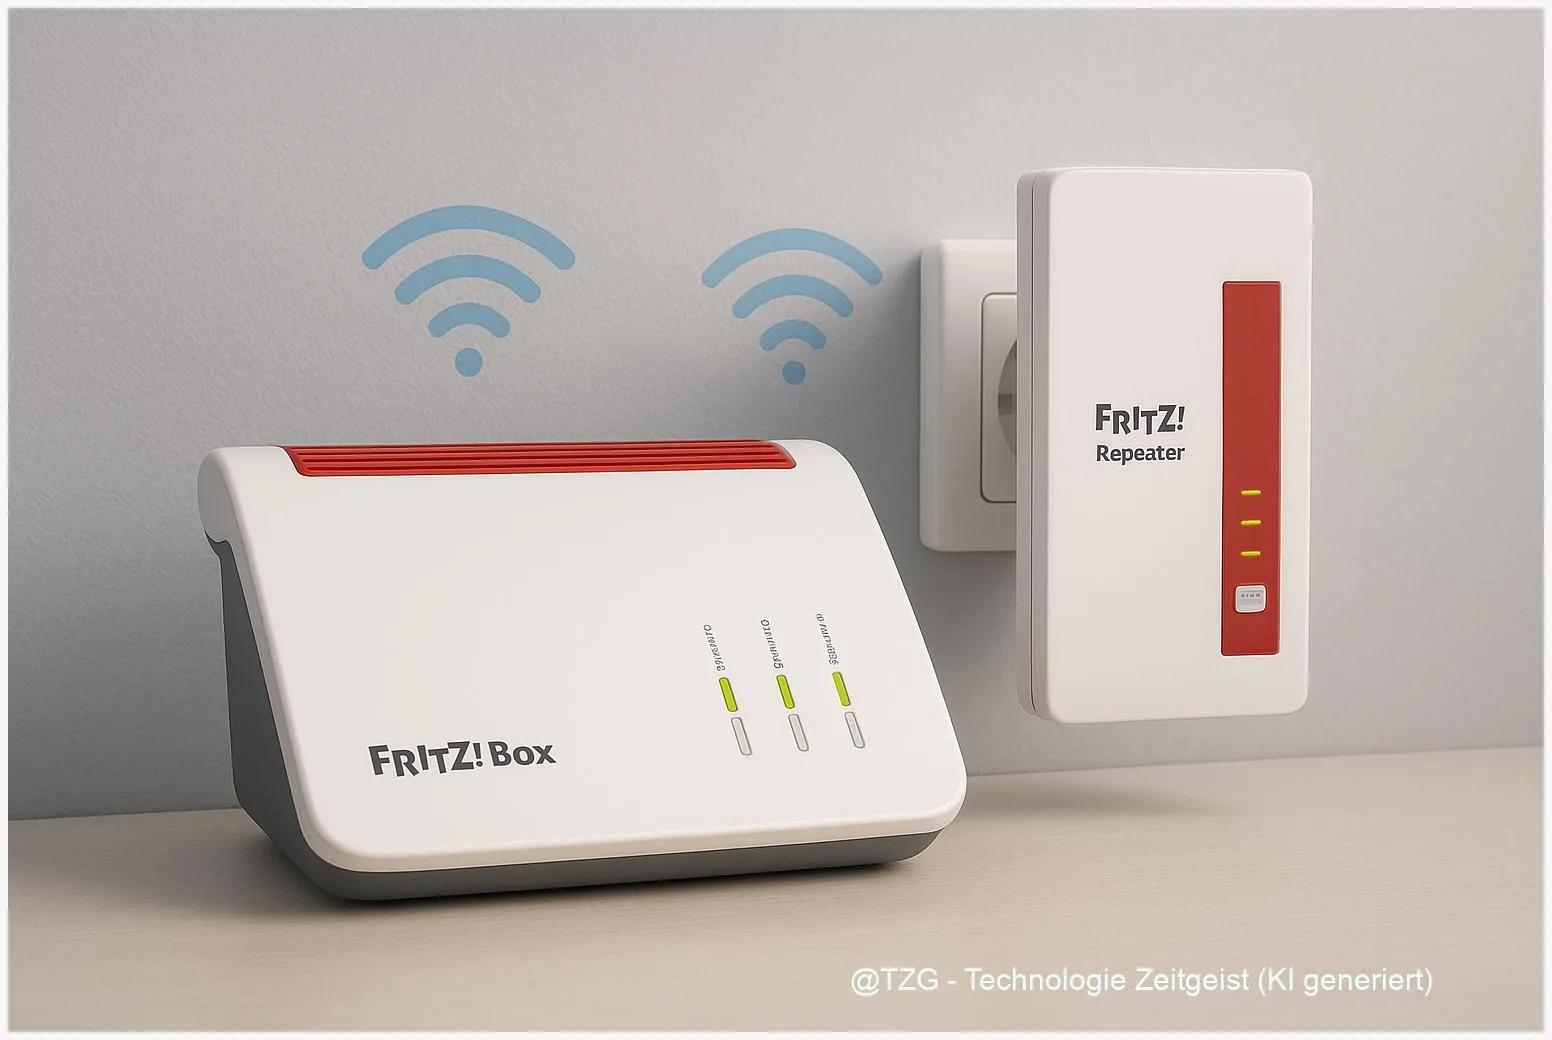
Weak Wi‑Fi in the bedroom, office, or garage is one of those everyday problems that never really goes away. With a FRITZ!Box, you can fix this by setting up FRITZ!Box Mesh and adding a compatible FRITZ!Repeater as a Mesh Repeater. The benefit: one Wi‑Fi name, one password, and devices switch more smoothly between router and repeater. This guide walks you through the preparation and the exact button presses so the repeater joins your Mesh reliably.
Introduction
Your router can be excellent and still not reach every corner of a home. A few walls, a reinforced concrete ceiling, or a router tucked behind furniture is often enough to turn video calls into pixel soup and online games into lag. Many people react by buying a “random” repeater, then end up with two Wi‑Fi names and constant manual switching.
FRITZ!Mesh aims to make Wi‑Fi expansion feel like one coherent network: the FRITZ!Box acts as the control center (the “Mesh Master”), and a FRITZ!Repeater extends coverage as a “Mesh Repeater”. Once it’s integrated, the repeater typically adopts the same Wi‑Fi name and password, and you can check everything centrally in the FRITZ!Box interface.
The steps below focus on the most reliable method: connecting via WPS/Connect buttons, then verifying the Mesh status.
FRITZ!Box Mesh setup basics: what you’re building
A Mesh Wi‑Fi network is a group of access points that work together. In the FRITZ! ecosystem, your internet-connected FRITZ!Box is usually the Mesh Master. It stores key settings (like Wi‑Fi name/SSID, password, and many security options) and distributes them to the Mesh Repeaters. A FRITZ!Repeater can become such a Mesh Repeater either wirelessly (it connects to the FRITZ!Box over Wi‑Fi) or via cable (LAN “backhaul”).
The practical goal of Mesh is simple: you should have one Wi‑Fi network that behaves consistently, even when you move through the home.
Two terms help when you look at menus and LEDs. WPS (Wi‑Fi Protected Setup) is the pairing method using a button press instead of typing passwords. And Mesh overview is the page in your FRITZ!Box that shows whether a device is really part of the Mesh (not just connected somehow).
Not every “repeater-like” setup is Mesh. You can have Wi‑Fi extension without centralized control. The guide below is about the Mesh approach, because it is easier to maintain over time.
Preparation and prerequisites (save time before you press any buttons)
A smooth setup depends less on luck and more on good starting conditions. Before you add the repeater, check these points once; it prevents the common “it connects, but not to Mesh” situation.
- Compatible devices: Use a FRITZ!Repeater (or another FRITZ! device that supports Mesh). AVM provides a compatibility overview for FRITZ! products that support Mesh.
- Update firmware: Install current FRITZ!OS on the FRITZ!Box and the repeater if possible. Mesh features depend on software support, and updates often improve stability.
- Know your buttons: Depending on the model, the button may be labeled Connect, WPS, or WLAN. The idea is the same, but press duration can differ by model.
- Start close to the router: Plug the repeater in near the FRITZ!Box for the first pairing. After it joins the Mesh, you can move it to the final spot.
- Optional but useful: Have a phone or laptop ready to open the FRITZ!Box interface so you can verify the Mesh symbol/status afterward.
If the repeater is used or already configured, resetting it to factory settings can be the fastest path. AVM’s knowledge base often describes a long press (around 15 seconds) on the WPS button to reset—watch the LEDs for the model-specific reset signal.
Step-by-step: Add a FRITZ!Repeater to your FRITZ!Box Mesh
The following method uses WPS/Connect buttons because it’s the most universal across models. Keep the repeater close to the FRITZ!Box during these steps. If the guide mentions time windows, treat them as “roughly”: the key is to press the second button shortly after the first.
- Plug in the FRITZ!Repeater near your FRITZ!Box and wait until it is ready (power LED stable, model-dependent).
- Start pairing on the repeater: Press the repeater’s Connect/WPS/WLAN button briefly (often about 1 second). A Wi‑Fi/WPS LED typically starts blinking to show pairing mode.
- Start pairing on the FRITZ!Box: Within about 2 minutes, press the FRITZ!Box button for WPS (often labeled Connect or WPS). On some FRITZ!Box models, a longer press is required—use the label next to the button and the LED behavior as guidance.
- Wait for the connection to finish: The blinking should stop after a short while. Many FRITZ!Repeaters show signal strength with multiple LEDs. When several bars/LEDs light up steadily, the Wi‑Fi link is established.
- Confirm Mesh integration in the FRITZ!Box interface: Open the FRITZ!Box user interface (for example via the default local address used by FRITZ!Box) and look under the home network and Mesh overview. The repeater should appear as a Mesh device, typically marked with a Mesh symbol.
- Move the repeater to its final location: Choose a spot between the FRITZ!Box and the area with weak Wi‑Fi. After plugging it in again, wait for it to reconnect. Use the signal LEDs as a quick check.
If everything worked, your devices should still see the same Wi‑Fi name as before, but coverage should be noticeably better in the target area. In the Mesh overview, the repeater should be listed with a stable connection type (Wi‑Fi or LAN).
Tips, troubleshooting, and smart variants (Wi‑Fi vs LAN, placement, common errors)
If the setup fails, it’s usually one of a few repeatable causes: timing, distance, or old settings on the repeater. Start with the simplest fixes before you change advanced options.
Common issues and quick fixes:
- WPS pairing doesn’t start: Make sure you pressed the correct button on each device. Some models require a longer press. If LEDs do nothing, reboot the device and try again.
- Repeater connects, but not as Mesh: Check in the FRITZ!Box Mesh overview. If it shows up only as a regular Wi‑Fi device, reset the repeater and repeat the pairing close to the FRITZ!Box. Firmware updates can also help.
- Coverage improved, but speed still low: The repeater might be too far from the FRITZ!Box. Move it closer until the signal LEDs show a solid mid-to-high level. Thick walls and metal cabinets can massively reduce throughput.
Variant 1: Use a LAN connection (recommended when possible). If you can run an Ethernet cable to the repeater location, connect the repeater via LAN. This usually gives the most stable backhaul, because the repeater doesn’t have to “relay” over the same radio link. AVM describes LAN-based integration as an option in its knowledge base for many models.
Variant 2: Daisy-chaining (repeater to repeater). In larger homes you can connect a repeater to another Mesh Repeater (often called a chain). It can work, but each wireless hop can add complexity. If you notice unstable connections, prefer a direct link to the FRITZ!Box or use LAN where available.
Placement tip that pays off: Don’t hide the repeater behind a TV or inside a cabinet. A visible outlet in the hallway often performs better than a “tidy” corner. AVM’s placement guides also recommend using signal indicators (LEDs or app checks) to find the sweet spot.
If you want to go further after the Mesh is stable, TechZeitGeist also has practical guides on improving home Wi‑Fi and reducing interference (see sources).
Conclusion
A repeater can extend Wi‑Fi, but a properly integrated Mesh setup is what keeps the network easy to live with day after day. Once the FRITZ!Repeater is added with WPS/Connect and shows up in the FRITZ!Box Mesh overview, it typically adopts the same settings automatically and expands coverage without creating a second network you must manage. The two biggest success factors are simple: pair the devices close together first, and then place the repeater where it still has a strong link back to the FRITZ!Box. With that, FRITZ!Box Mesh setup becomes a repeatable, low-stress routine.
Have you set up your repeater via Wi‑Fi or via LAN, and what placement worked best in your home? Share your experience, and pass this guide along to anyone still fighting dead zones.


Leave a Reply