Need proof of a bug, a quick tutorial clip, or a recording for tech support? With Windows 11 Bildschirm aufnehmen (screen recording) you can capture what happens on your PC without installing extra software. This guide shows two built-in options—Snipping Tool for short, focused clips and Xbox Game Bar for longer recordings with audio—plus where files are saved and what to check if recording does not start.
Introduction
Screen recordings are one of those practical tools you only miss when you need them: a banking website that behaves oddly, an online class where you want to capture the steps, or a game clip you want to share with friends. In Windows 11, you do not have to hunt for third‑party recorders for most everyday tasks. Microsoft ships two different approaches that cover most needs.
The Snipping Tool is great when you only want a specific area and a short clip—like a settings window or a small bug. Xbox Game Bar is better when you need longer recordings, want to capture audio reliably, or prefer quick keyboard shortcuts during a full-screen app. The steps below focus on safe, repeatable actions you can follow even if the interface changes slightly.
Basics and Overview: Windows 11 screen recording options
Windows 11 includes two main tools for recording your screen. Snipping Tool is the modern capture app for screenshots and short video clips. It records a selected rectangular area, which is perfect for focused instructions or reporting a problem without showing your whole desktop.
Xbox Game Bar is a built-in overlay designed for capturing games and apps. It can record longer sessions and offers convenient shortcuts for starting and stopping a recording. Depending on the app, Game Bar may not record the Windows desktop or File Explorer, but it works well in many applications and games.
The best choice is the one that records only what you need: smaller clips are easier to share, store, and understand.
Both options typically save recordings as MP4 video files. If you mainly want a “quick explain” clip, start with Snipping Tool. If you want to capture audio, longer sequences, or gameplay, use Game Bar.
| Option or Variant | Description | Suitable for |
|---|---|---|
| Snipping Tool (screen recording) | Records a selected rectangular area; quick start via shortcut; ideal for short clips. | Bug reports, tutorials for a single window, sharing a small step. |
| Xbox Game Bar | Records many apps and games; start/stop via keyboard; saves to Captures folder. | Longer recordings, gameplay, recording app workflows with audio. |
Preparation and Prerequisites
A smooth recording usually comes down to three things: updated tools, enough storage, and the right audio/privacy settings. Take one minute for preparation—especially if you record something for work, school, or customer support.
Before you start, check the following:
- Update Snipping Tool: Open Microsoft Store, go to Library, and install updates. Newer builds are more consistent with recording features.
- Enable Xbox Game Bar (if you plan to use it): Go to Settings > Gaming > Xbox Game Bar and make sure it is turned on.
- Know your save location: Game Bar recordings usually land in your user folder under Videos > Captures. Make sure that drive has free space.
- Decide on audio: If you record your voice, use a headset to reduce echo. If you record system audio, close apps that might play private notifications.
- Protect privacy: Close emails, chats, and password managers. Consider using a test account when demonstrating logins.
If you record a how-to for someone else, do a 5‑second test clip first. It helps confirm that the area, audio, and quality are what you expect.
Step-by-Step Instruction
The steps below cover both built-in methods. Pick the one that fits your situation: Snipping Tool for a selected area, Game Bar for longer captures in supported apps and games.
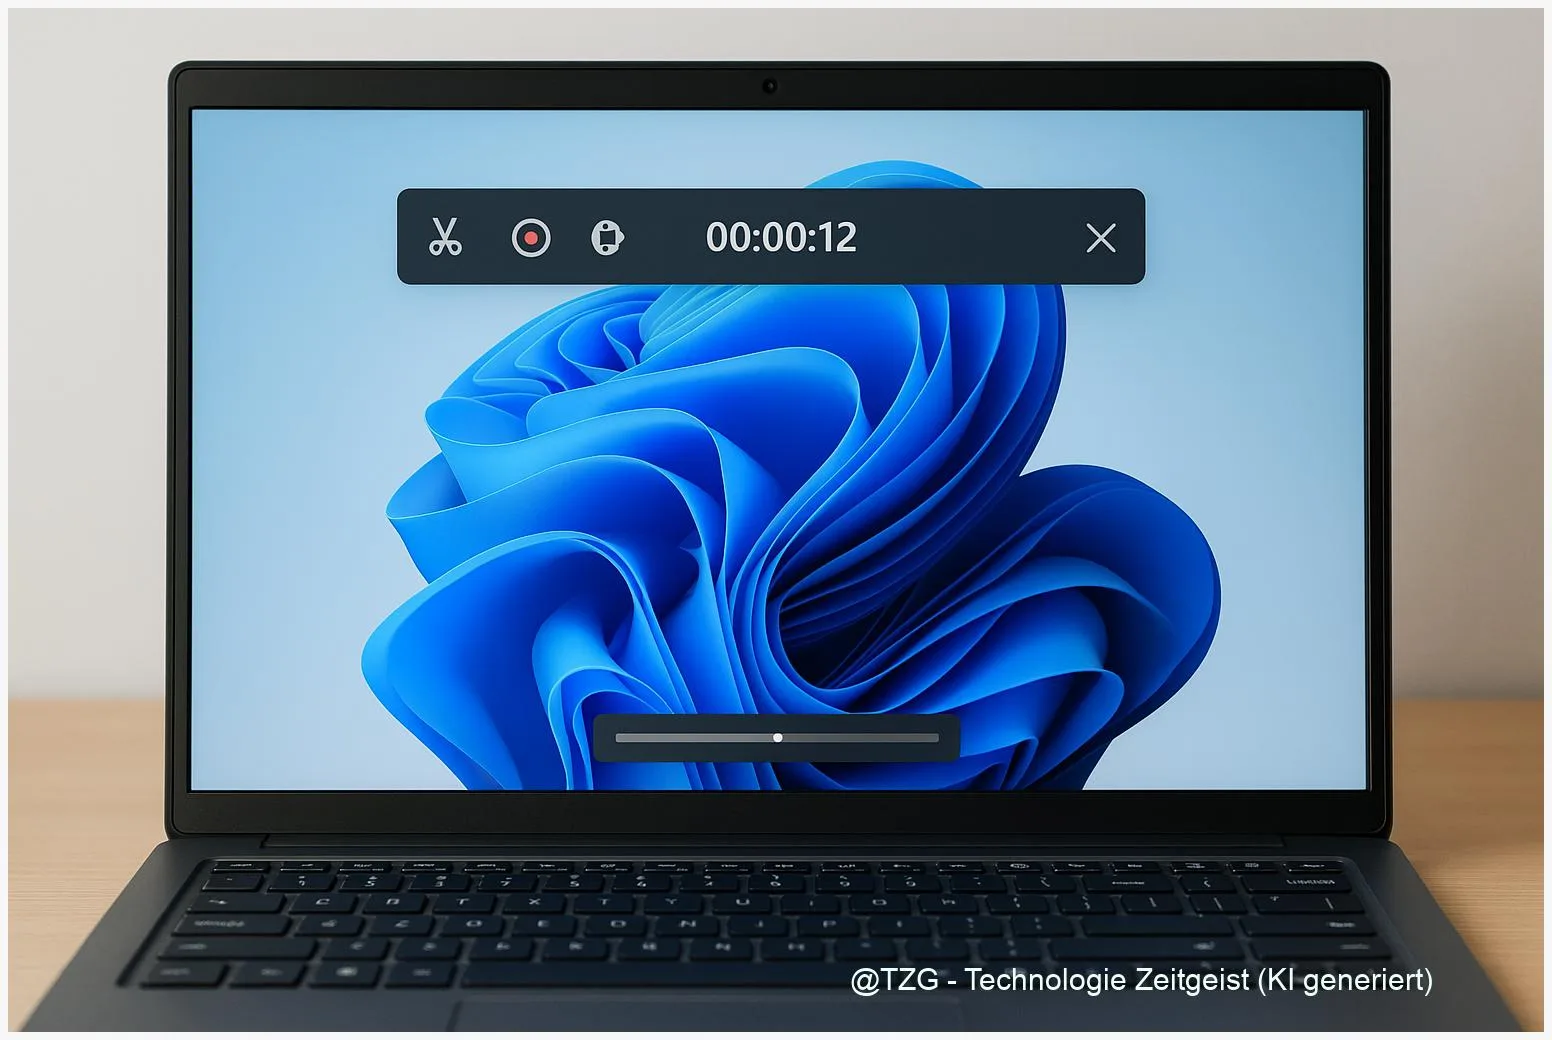
- Method A (Snipping Tool): Start the recorder. Press Win + Shift + R (or open Snipping Tool from the Start menu and switch to the Record mode).
- Select what you want to capture. Drag to mark the rectangular area. Keep it tight: only the app window or the part of the screen that matters.
- Begin recording. Click Start. After the short countdown, perform the actions you want to show.
- Stop and save. Click Stop. Review the preview and save the clip as an MP4 file when prompted (or via the save icon, depending on your version).
- Method B (Xbox Game Bar): Open the overlay. Open the app/game you want to record, then press Win + G to bring up Xbox Game Bar.
- Start/stop recording quickly. Press Win + Alt + R to start, and the same shortcut again to stop. To toggle the microphone during recording, use Win + Alt + M.
- Find your file. Open File Explorer and go to Videos > Captures. Your recording is stored as an MP4 file.
If everything worked, you should see either a Snipping Tool preview (Method A) or a small recording status indicator from Game Bar (Method B). If you do not see any indicator, move to the troubleshooting tips below.
Tips, Troubleshooting, and Variants
When screen recording fails, it is usually a permission setting, an unsupported target, or a shortcut conflict. These fixes solve most everyday problems without deep system changes.
Common issues and quick fixes:
- Win + G does nothing: Check Settings > Gaming > Xbox Game Bar is enabled. Also verify your keyboard is not remapping the Windows key (some gaming tools can do that).
- Game Bar says it cannot record this: Some parts of Windows (like File Explorer or the desktop) may not be recordable with Game Bar. Use Snipping Tool instead for those cases.
- No audio in the recording: For Game Bar, review Settings > Gaming > Captures and the audio options. Also check the volume mixer and whether the correct microphone is selected in Windows sound settings.
- Recording is huge or the PC slows down: Record a smaller area (Snipping Tool), close heavy apps, and save to a drive with enough free space. If you only need a proof clip, keep it short.
- Can’t find the file: For Game Bar, look in Videos > Captures. If you changed your library locations before, your Videos folder might be on another drive.
Useful variants: For a polished video (cutting mistakes, adding captions), you can edit the saved MP4 in Microsoft Clipchamp. If your goal is a step-by-step bug report for support, keep the cursor movements slow and pause briefly on important buttons so viewers can follow.
If you want more Windows 11 productivity guides, TechZeitGeist has practical background reads such as 10 tips for working faster with Windows 11 and the Windows category overview.
Conclusion
Windows 11 makes screen recording surprisingly accessible once you know which built-in tool to pick. Snipping Tool is the quickest way to capture a small area for a short explanation clip, while Xbox Game Bar is better for longer recordings inside many apps and games—complete with convenient keyboard shortcuts and a clear save location in Videos > Captures. With a short privacy check and a quick test recording, you can create shareable videos for school, support, or everyday tech help in minutes.
Try a 10‑second test recording on your PC, then share your most useful shortcut or tip with others—or pass this guide on to someone who often explains things remotely.


Leave a Reply