Want to keep your phone number while switching devices, adding a travel plan, or using two lines at once? This eSIM setup iPhone and Android guide shows how to activate an eSIM using a QR code or built-in transfer options, and how to move an eSIM to a new phone with fewer surprises. You’ll learn the prerequisites, the exact menus to tap, and what to do when activation fails.
Introduction
Your SIM card is what makes your phone number “yours” on the mobile network. With an eSIM (embedded SIM), that information lives digitally inside the device instead of on a small plastic card. That’s convenient—but also confusing the first time you switch phones, because you can’t just move a chip from one handset to the next.
Typical scenarios: you bought a new iPhone or Android phone and want the same number; you’re adding a second line for work; or you want a local data plan for travel while keeping your main line active. The good news: modern iOS and Android versions support eSIM setup through a QR code or carrier app, and iPhone-to-iPhone transfer can be very smooth when your provider supports it.
The steps below focus on safe, everyday activation and transfer—without guessing, and with clear checkpoints so you know when it worked.
Basics and Overview
An eSIM is a digital SIM profile downloaded to your phone. Your carrier (mobile provider) issues that profile, usually as a QR code, an activation code, or through its app. Once installed, your phone can use that plan like a normal SIM—calls, texts, and mobile data—depending on what the plan includes.
If your carrier treats an eSIM as a “one-device-at-a-time” license, transferring usually means re-activating—not copying.
This is why transfer behavior differs: some iPhone plans can be moved during setup with “eSIM Quick Transfer” (carrier support required), while many Android setups still rely on scanning a QR code again. Dual SIM is common: one physical nano-SIM plus one eSIM, or (on some models) two eSIMs. In settings you can pick which line is used for mobile data, calls, and SMS.
| Option or Variant | Description | Suitable for |
|---|---|---|
| QR code activation | Scan a carrier-provided QR code to download the eSIM profile over Wi‑Fi. | Most carriers; common for travel eSIMs and new activations. |
| Nearby transfer (iPhone) | Move an existing plan from an old iPhone to a new iPhone during or after setup. | People upgrading iPhones with a compatible carrier plan. |
Preparation and Prerequisites
Before you start, reduce the two biggest eSIM risks: getting locked out of accounts (because SMS codes go to the wrong phone) and being unable to download the profile (because there’s no internet).
Quick checklist:
- Reliable internet: Have Wi‑Fi available. Many activations require Wi‑Fi to download the eSIM.
- Carrier support: Confirm your provider supports eSIM on your specific model and country plan. Support varies by carrier and tariff.
- Keep the old phone powered on: Especially for iPhone Quick Transfer, you’ll often need the old device nearby with Bluetooth enabled.
- Update software: Install pending iOS/Android updates. eSIM menus and transfer features depend on system versions.
- Prepare account access: Make sure you can log in to your Apple ID/Google account without relying solely on SMS. If you use two-factor authentication, keep a second method ready (authenticator app, security key, trusted device).
- Know what you’re moving: An eSIM is the mobile plan. Your chats/photos/apps move separately via iCloud backup, Google backup, or device-to-device transfer.
If you’re moving your main number, plan a quiet 15 minutes. A failed activation is usually fixable, but it’s stressful when you’re rushing to catch a train.
Step-by-Step Instruction
Use the path that matches your situation. If you’re unsure, start with the QR-code method: it works on most iPhones and Android phones as long as your carrier provides a QR code.
-
Decide: new activation or transfer?
If you’re adding a new plan (for example, travel data), you’ll typically scan a QR code. If you’re moving your main number to a new iPhone, check if your carrier supports iPhone eSIM Quick Transfer.
-
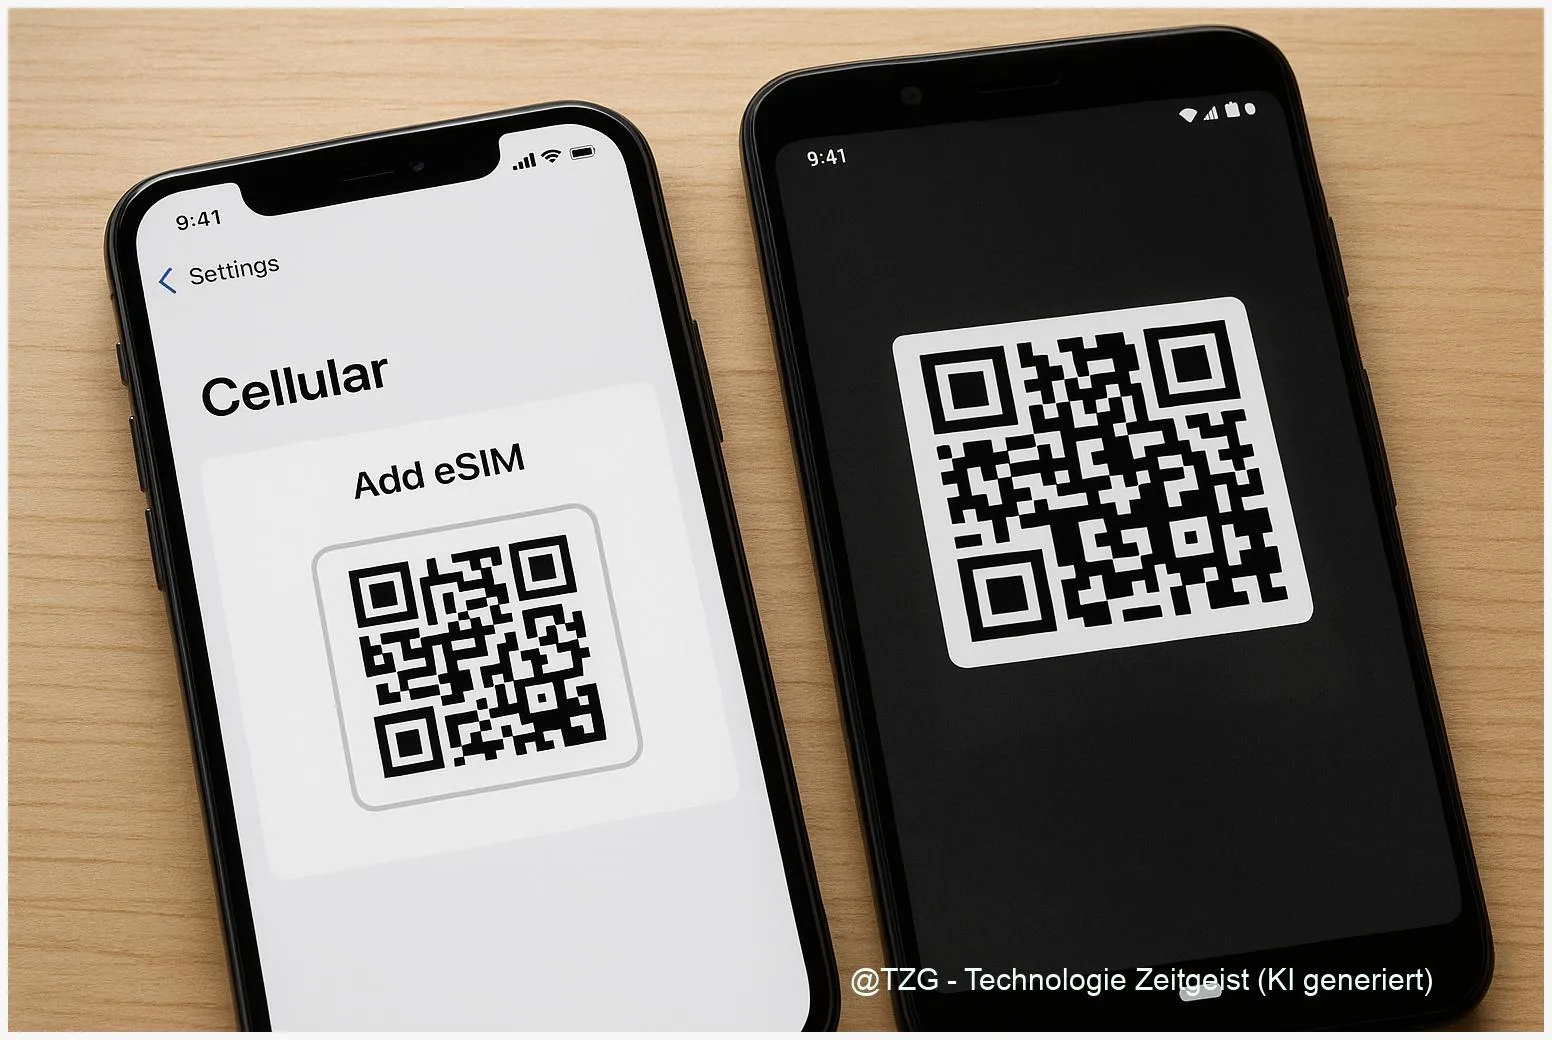
iPhone: set up eSIM via QR code
Open Settings > Cellular (or Mobile Service) > Add eSIM. Choose the option to use a QR code, then scan the QR code your carrier provided. Follow the on-screen prompts to label the plan (for example “Personal” / “Work”) and set the default line for mobile data.
-
iPhone: transfer eSIM from an old iPhone (Quick Transfer, if available)
On the new iPhone, go to Settings > Cellular > Add eSIM. If you see an option like Transfer From Nearby iPhone, select it. Keep both iPhones close together, with Bluetooth on, and confirm the transfer on the old iPhone. Wait until the new iPhone shows the plan as active; the old device may lose service for that line.
-
Android (Pixel): set up eSIM via QR code
Open Settings > Network & internet > SIMs (or SIMs/Mobile network) > Add SIM > Download a SIM or Set up eSIM. Choose Scan QR code and scan the carrier QR code. Confirm the download and activation.
-
Android (Samsung Galaxy): add eSIM in SIM Manager
Open Settings > Connections > SIM manager > Add eSIM > Scan QR code. After the scan, follow the prompts to download and turn on the plan.
-
Set defaults for Dual SIM (recommended)
After activation, open your SIM settings and choose the default line for mobile data, calls, and SMS. Look for labels like “Preferred SIM” (Android) or “Default Voice Line” / “Cellular Data” (iPhone). This avoids surprises like using the travel plan for calls.
-
Verify the result
Turn off Wi‑Fi for a moment and check the signal indicator. Make a short test call, send a text, and open a web page on mobile data. If everything works, you’re done.
If the phone shows “Activating…” for a long time, don’t delete the eSIM immediately. First try the troubleshooting steps below—many activations finish after a restart or a short network refresh.
Tips, Troubleshooting, and Variants
Most eSIM problems come down to three things: the wrong QR code (already used or for another device), missing carrier support, or a shaky internet connection during download.
Common issues and fixes:
- QR code says it can’t be added / is no longer valid: Many carriers treat QR codes as single-use. Request a new QR code in your carrier app or support channel.
- No “Add eSIM” option in settings: The device model or region may not support eSIM, or the feature is disabled by carrier firmware. Check your model’s specs and carrier documentation.
- Stuck on “Activating”: Restart the phone, toggle Airplane Mode on/off, and confirm Wi‑Fi is stable. Then wait a few minutes before trying again.
- No service after successful activation: Check that the eSIM line is enabled, and that you selected it for mobile data. On some phones you also need to enable data roaming for travel eSIMs.
- Two numbers, but the wrong line is used for data: Revisit the defaults. On iPhone, check Settings > Cellular > Cellular Data. On Android, check Preferred SIM options.
Useful variants:
- Carrier app instead of QR: Some providers activate directly inside their app. The app downloads the eSIM profile in the background and may not require scanning.
- Keeping the old phone as a backup: Don’t factory reset the old device until the new phone can reliably receive calls and SMS on the moved number.
- Privacy and safety tip: Treat QR codes and activation codes like passwords. Anyone who gets a valid code may be able to activate your plan on another device, depending on carrier rules.
If you want more everyday guides around mobile setup and security, TechZeitGeist also has practical explainers such as TechZeitGeist.net mobile how-tos. If you can’t find a matching article there, your carrier’s support pages remain the most reliable source for plan-specific steps.
Conclusion
eSIMs make switching phones and running two lines simpler—once you know the activation method your carrier expects. For most people, scanning a QR code over stable Wi‑Fi is the safest universal route. iPhone users may also have a smoother upgrade path with eSIM Quick Transfer, but that depends on carrier support. After activation, set clear defaults for calls, texts, and data, then verify with a quick test call and a short mobile-data check. If something fails, it’s usually fixable with a restart, a new QR code, or a carrier re-issue.
Did you activate via QR code or transfer from an old phone? Share what worked (and what didn’t) so others can avoid the same bumps.


Leave a Reply