If you want people to stop waiting for your reply while you are away, you can set up automatic answers directly in Outlook. This guide shows how to do Outlook Abwesenheitsnotiz einrichten in the Outlook app (classic and new) and in Outlook on the web. After these steps, your mailbox will send a clear absence message (optionally scheduled) to internal and external senders—without you needing to be online.
Introduction
Your inbox does not take a vacation. Even if you are off for a weekend trip, studying for exams, or simply need a few focused days, messages keep coming in: project questions, appointment requests, support tickets, “quick” follow-ups. Without an automatic reply, people guess when you will answer—and some will resend the same mail twice.
An out-of-office message (also called an automatic reply) fixes that with one setting. It gives senders immediate clarity, reduces pressure on you, and helps teams coordinate. In modern Microsoft 365 and Exchange mailboxes, these replies are handled on the mail server, so they still work when your laptop is shut down.
The steps below cover both the Outlook desktop app (classic Outlook and the “new Outlook” interface) and Outlook on the web. You will also learn what to do if your account type does not support server-based automatic replies.
Basics and Overview
In Outlook, the absence function is usually called Automatic replies or Out of Office. Technically, there are two common ways it can work:
Server-based automatic replies are the best option. They are stored on your mail server (typically Microsoft Exchange or Microsoft 365). That means replies are sent even when Outlook is closed. You can often set a time range and separate messages for people inside your organization and outside of it.
The most reliable out-of-office reply is the one that works even when your computer is off—so aim for server-based automatic replies whenever your mailbox supports them.
Client-based replies via rules are a fallback for mailboxes that do not support the Out-of-Office feature (commonly POP/IMAP accounts). In that case, Outlook can reply using a rule and a saved template—but only while Outlook is running.
| Option or Variant | Description | Suitable for |
|---|---|---|
| Automatic replies (server-based) | Configured once; can be scheduled; can use different text for internal vs. external senders; works without Outlook open. | Microsoft 365 / Exchange / Outlook.com accounts (typical work and school mailboxes). |
| Rule with reply template (client-based) | Outlook replies using a rule and a saved message template; requires Outlook to stay running. | POP/IMAP accounts or setups where Automatic replies are not available. |
Preparation and Prerequisites
Before you switch anything on, take two minutes to prevent the most common problems: the “wrong Outlook” interface, the “wrong account type”, and a message that reveals too much.
Check these points first:
- Which Outlook are you using? Many Windows PCs have both classic Outlook and the new Outlook interface. The menus differ.
- Which mailbox type is it? Server-based automatic replies usually require an Exchange or Microsoft 365 account. If your account is POP/IMAP, you may need the rule-based workaround.
- Decide on timing: Do you want a fixed start/end (recommended), or do you prefer turning it on and off manually?
- Draft your text: Keep it short, include a return date (if you know it), and offer an alternative contact for urgent issues.
- Think about privacy: Avoid detailed travel plans, home address, or personal phone numbers in messages that could go to unknown external senders.
Optional but helpful: send yourself a test email from a different account (for example, a personal address) so you can confirm the behavior for external senders.
Step-by-Step Instruction
The core goal is always the same: turn on automatic replies, set the time period, then write messages for internal and (optionally) external senders. Use the path that matches your setup.
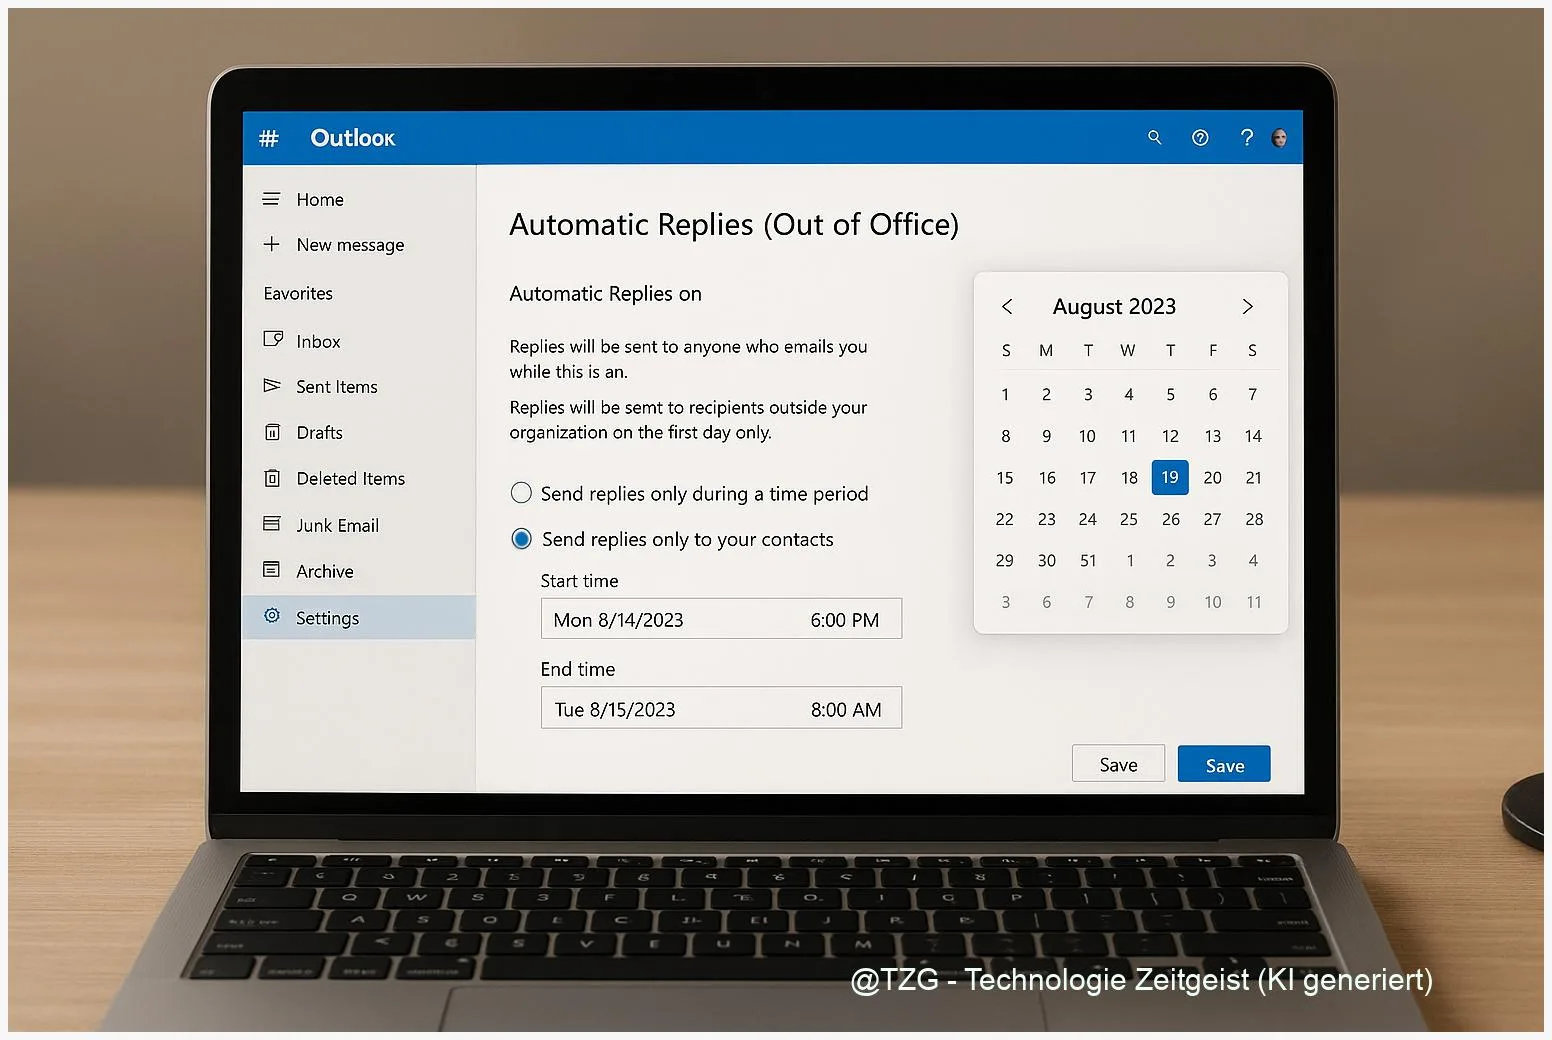
- Outlook on the web (browser): Open Outlook on the web, select Settings (gear icon), then go to Mail and find Automatic replies. Turn the switch on.
- Set a schedule (recommended): Enable the option to send replies only during a time period, then choose start and end date/time. This helps you avoid forgetting to turn replies off.
- Write your internal message: In the field for people inside your organization, add a short note. Example: “I’m away until 5 Jan. For urgent matters, contact …”.
- Decide on external replies: If you also want to reply to senders outside your organization, enable external replies and add a separate text. If the option exists, consider restricting replies to your contacts to reduce unwanted auto-replies.
- Classic Outlook for Windows: Open Outlook, go to File and choose Automatic Replies. Turn on “Send automatic replies”, set the time range, then fill in internal/external messages.
- New Outlook for Windows: Open the new Outlook, go to View > View settings > Accounts > Automatic replies. Switch it on, set your schedule, then add your messages.
- Save and verify: Save/apply the setting. Send a test mail from another address. You should receive one automatic reply, not a loop of repeated responses.
If everything is set correctly, Outlook will show that automatic replies are enabled, and senders should receive your message shortly after sending you an email (usually once per sender during your away period).
Tips, Troubleshooting, and Variants
If the setting is missing or your test does not work, the reason is usually account type or the version of Outlook. These fixes cover most everyday cases.
Problem: “Automatic replies” is not available.
This often means your mailbox is not Exchange/Microsoft 365 (for example, POP/IMAP). In that case, use the Microsoft-supported workaround: create an email template and a rule that replies with that template. Keep in mind: Outlook must stay running on your device for this to work.
Problem: It works internally but not externally (or the other way around).
Double-check that external replies are enabled and that you saved a separate external message. Some setups also offer “send only to my contacts”; if you choose that, unknown senders will not get a reply.
Problem: You are still getting meeting requests while away.
In many Microsoft 365/Exchange setups, the automatic replies settings include extra options related to calendar availability and meeting requests. If you see options to decline or block time during the period, consider enabling them so your calendar stays consistent.
Tip: Use two message versions.
Internal message can be more specific (team context, shared mailbox, ticket system). External message should be more neutral and privacy-friendly.
Variant: Set it in the browser even if you use the desktop app.
If you are unsure whether you have classic Outlook or the new Outlook, Outlook on the web is often the fastest way. For server-based mailboxes, the setting applies across clients.
If you want more everyday Outlook productivity tips, TechZeitGeist also has practical guides such as TechZeitGeist.net (overview). If you do not find a matching article, rely on the official Microsoft help links in the sources below.
Conclusion
Automatic replies in Outlook are a small setting with a big everyday effect: people get an immediate, polite response, and you stop feeling like you need to “watch” your inbox while away. For Microsoft 365 and Exchange accounts, the server-based option is the most reliable because it works even with Outlook closed and can be scheduled. If your account does not support it, a rule with an email template is a practical fallback—as long as your PC stays on and Outlook keeps running.
Try setting up your out-of-office reply now and send yourself a quick test message—then share what wording worked best for your situation.


Leave a Reply