Public Wi‑Fi, shared networks at school or work, and even some home routers can expose more of your traffic than you expect. This guide shows how to set up a VPN on iPhone, Android, Windows, and Mac so you can connect more safely and with fewer surprises. You’ll learn what details you need from your VPN provider, how to add a VPN profile manually, and how to confirm it’s really connected.
Introduction
A VPN (virtual private network) can be a practical “privacy tunnel” for your internet connection. It helps when you’re on public Wi‑Fi in a café, when you travel and need to access your home network, or when you want to reduce tracking on unfamiliar networks. But many people get stuck at the same point: the VPN app says one thing, the system settings look different, and suddenly you’re asked for a server address, a VPN type, or an “identifier”.
The good news: modern operating systems already include a basic VPN client, so you can often set it up without extra software. The key is knowing what information your VPN service (or your workplace/school) provides, and choosing a sensible protocol. The steps below focus on reliable, built-in setup paths for iPhone, Android, Windows 11, and macOS, plus quick checks to confirm you’re truly connected.
Basics and Overview: how to set up a VPN on iPhone
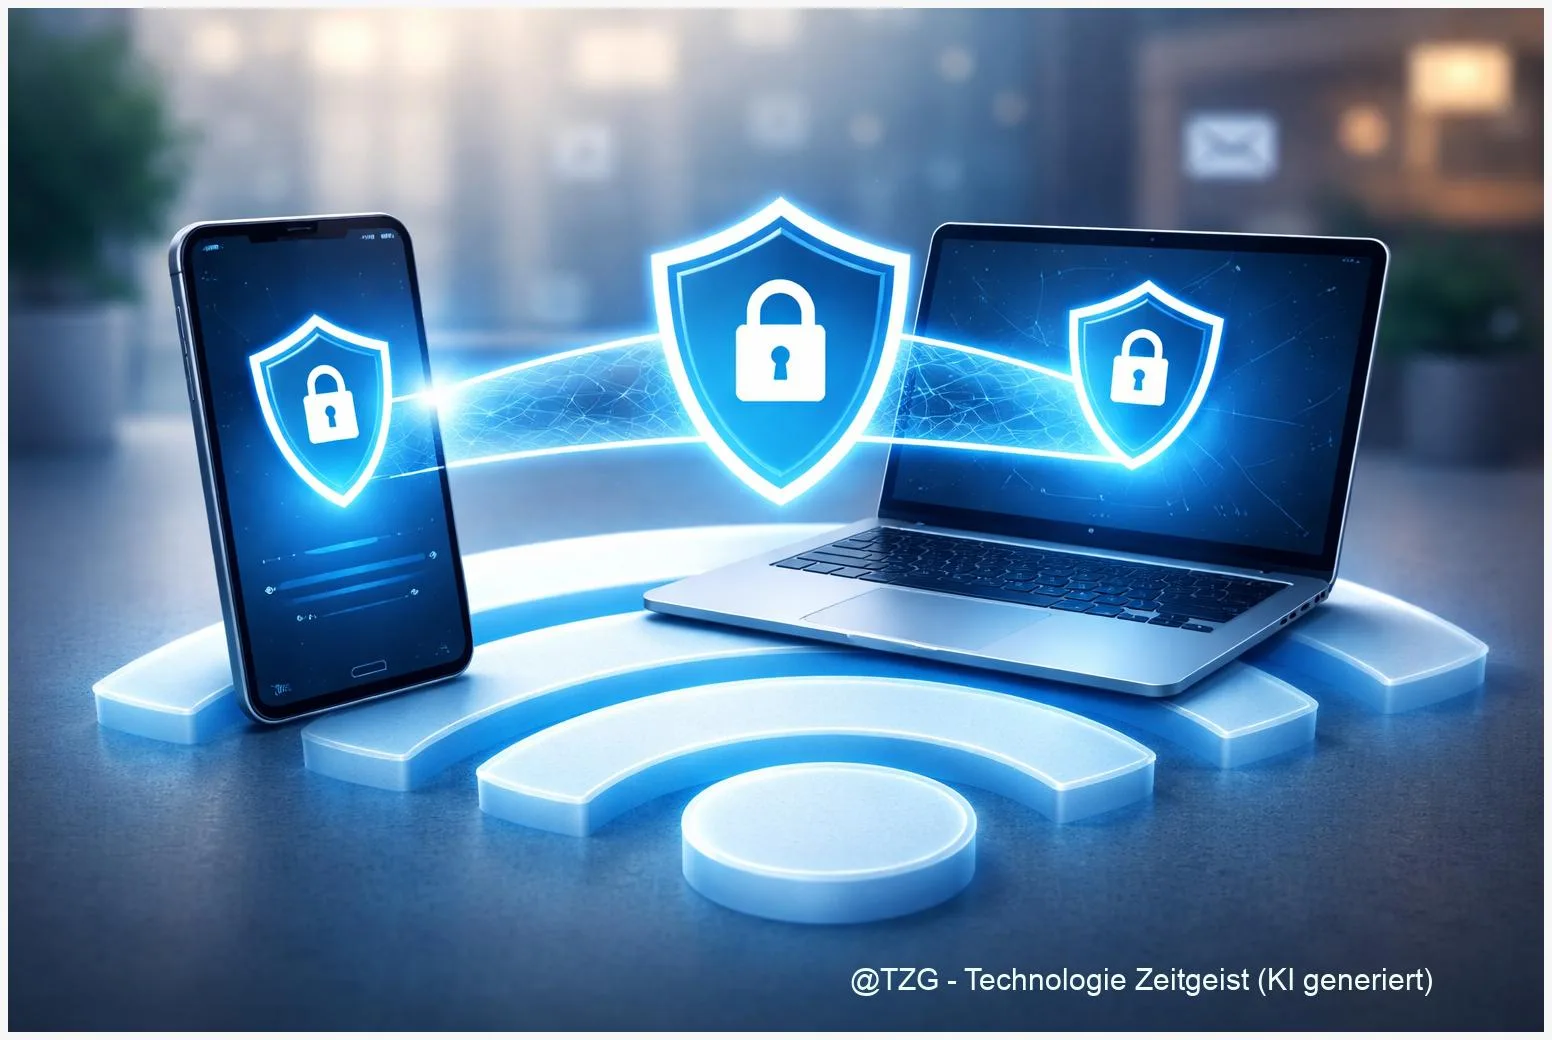
A VPN routes your device’s network traffic through a VPN server, then out to the internet. From the outside, your connection appears to come from that VPN server. On your side, your device encrypts the traffic between you and the VPN server. That can reduce the risk of snooping on open networks and can help you reach internal resources (for example, a company intranet).
Two terms matter most for setup: VPN protocol and credentials. The protocol is the “connection method” (common examples in system settings include IKEv2, L2TP/IPsec, and on Windows also SSTP). Credentials are what prove you’re allowed to connect: username/password, a shared secret (a pre-shared key), or a certificate.
A VPN protects the connection between your device and the VPN server — it does not automatically make every website or service trustworthy.
Many commercial VPNs prefer their own apps because they can support more modern protocols and extra features. Still, the built-in clients are useful for work/school VPNs and for quick manual setups.
| Option or Variant | Description | Suitable for |
|---|---|---|
| Provider app | Install the VPN provider’s app and sign in; the app configures the connection for you. | Most people, especially on mobile, who want the simplest setup. |
| Manual (built-in) VPN | Add a VPN profile in the operating system using server address, protocol, and credentials. | Work/school VPNs, or when you were given exact configuration details. |
Preparation and Prerequisites
Before you start tapping through menus, collect the right details. A surprising number of VPN “failures” are simply missing or mismatched information (wrong server name, wrong VPN type, outdated password).
Have this ready:
- Server address (hostname like vpn.example.com or an IP address).
- VPN type/protocol your provider supports for manual setup (for example IKEv2, L2TP/IPsec; Windows may also list SSTP and “Automatic”).
- Sign-in method: username/password, certificate, or shared secret (pre-shared key).
- Account details: some services use a separate “VPN password” different from your main login.
- Network basics: make sure date/time are correct (important for certificates) and that you have a stable connection (Wi‑Fi or mobile data).
If you’re setting up a work or school VPN, ask the administrator which protocol to use. If you’re using a consumer VPN, consider starting with the provider’s official app and only switch to manual setup if the provider explicitly supports it.
Step-by-Step Instruction
The following steps cover the built-in setup on each platform. Menu names can vary slightly by version or device brand, but the structure is consistent: add a VPN configuration, enter server and login details, then connect and confirm the status.
-
iPhone (iOS): add a VPN configuration
Open Settings and search for VPN. If you see VPN, open it and choose Add VPN Configuration. Select the type your provider gave you (commonly IKEv2 or L2TP/IPsec), then enter Description, Server, and your Account details. Save. You can then toggle VPN on to connect. -
Android: add a VPN profile
Go to Settings > Network & internet (on some phones: Connections) > VPN. Tap Add or the + icon. Enter the name, server address, and the type your provider specifies, then save. Tap the newly created VPN entry and sign in to connect. -
Windows 11: add a VPN in Settings
Open Settings > Network & internet > VPN > Add VPN (or Add VPN connection). Set VPN provider to Windows (built-in). Enter Connection name, Server name or address, choose the VPN type, then add your sign-in info (often username and password). Save, then select the VPN and press Connect. -
macOS: add a VPN configuration in Network settings
Open System Settings > Network. Use the action menu (often shown as an options button) to choose Add VPN Configuration, then select IKEv2 or L2TP over IPSec as instructed by your provider. Enter the server address and account name, add authentication details, then apply. Use the VPN controls to connect. -
Confirm you’re connected
On iPhone you’ll usually see a VPN indicator in the status area when connected. On Android you typically get a key/VPN icon and a persistent notification. On Windows, the VPN page should show Connected, and the network flyout may show the VPN status. On Mac, the VPN status in Network settings should show it as connected.
If the connection succeeds but feels “unchanged”, that can be normal. A VPN often won’t change how websites look. The most reliable sign is the operating system’s connection status showing Connected for the VPN profile you just created.
Tips, Troubleshooting, and Variants
If your VPN connection is not working, start with the basics: re-check the server address, the VPN type, and the sign-in method. A single mismatch (for example choosing L2TP when your provider expects IKEv2) can cause immediate connection failure.
Common fixes that work across platforms:
- Switch networks: test on mobile data and on a different Wi‑Fi. Some networks block specific VPN traffic.
- Check time and date: certificates and secure tunnels can fail if your device time is far off.
- Re-enter credentials: password managers sometimes paste extra spaces; also check if your provider uses a separate VPN password.
- Try the official app: many services handle certificates and protocol negotiation automatically.
Useful variants for daily use:
- Always-on VPN (Android): Android can keep a VPN on and optionally block connections without it, which helps avoid accidental leaks on public Wi‑Fi.
- On-demand behavior (Apple platforms): Apple’s platform documentation describes VPN On Demand and managed setups via configuration profiles (common in organizations).
- Windows advanced options: Windows lets you edit a saved VPN profile later (for example if the server address changes) without rebuilding everything.
Privacy note: a VPN can help secure public Wi‑Fi with a VPN tunnel, but it doesn’t erase your digital footprint entirely. Websites can still identify you via logins, cookies, and browser fingerprinting. Use a VPN as one layer, alongside strong passwords and updated devices.
Conclusion
Setting up a VPN is mostly a matter of having the right details and choosing the correct protocol. iPhone and Mac let you add a VPN configuration in system settings, Android offers a built-in VPN menu (with useful Always-on options on many devices), and Windows 11 includes a straightforward “Windows (built-in)” VPN setup page. Once connected, look for the OS connection status and VPN indicator icons to be sure the tunnel is active. If something fails, double-check server address, VPN type, and credentials before changing more complicated settings.
Have you set up your VPN manually or do you prefer the provider app? Share what worked on your device — and which error message (if any) you ran into.


Leave a Reply