Too many windows at once can make even simple tasks feel chaotic. With Windows 11 virtual desktops and Snap Layouts, you can separate work, school, and personal stuff into tidy spaces and arrange apps on your screen in seconds. This guide shows how to create and name desktops, snap windows into reliable layouts, and restore your favorite window groups later—so your PC feels organized without constantly minimizing and hunting.
Introduction
When you have a browser with ten tabs, a chat app, a PDF, and a Word document all open at the same time, your desktop can turn into a pile of overlapping rectangles. You click the wrong window, lose track of what you were doing, and spend more time arranging than working.
Windows 11 offers two built-in tools that fix this in a practical way: Virtual Desktops and Snap Layouts. Virtual desktops let you split your life into separate “workspaces” (for example, one for study, one for gaming, one for admin tasks). Snap Layouts helps you place windows into clean grids with a mouse or a keyboard shortcut.
Once you combine both, you can keep each desktop focused and still multitask efficiently inside it. The steps below work on current Windows 11 systems and stay useful even if small UI details change.
Basics and Overview
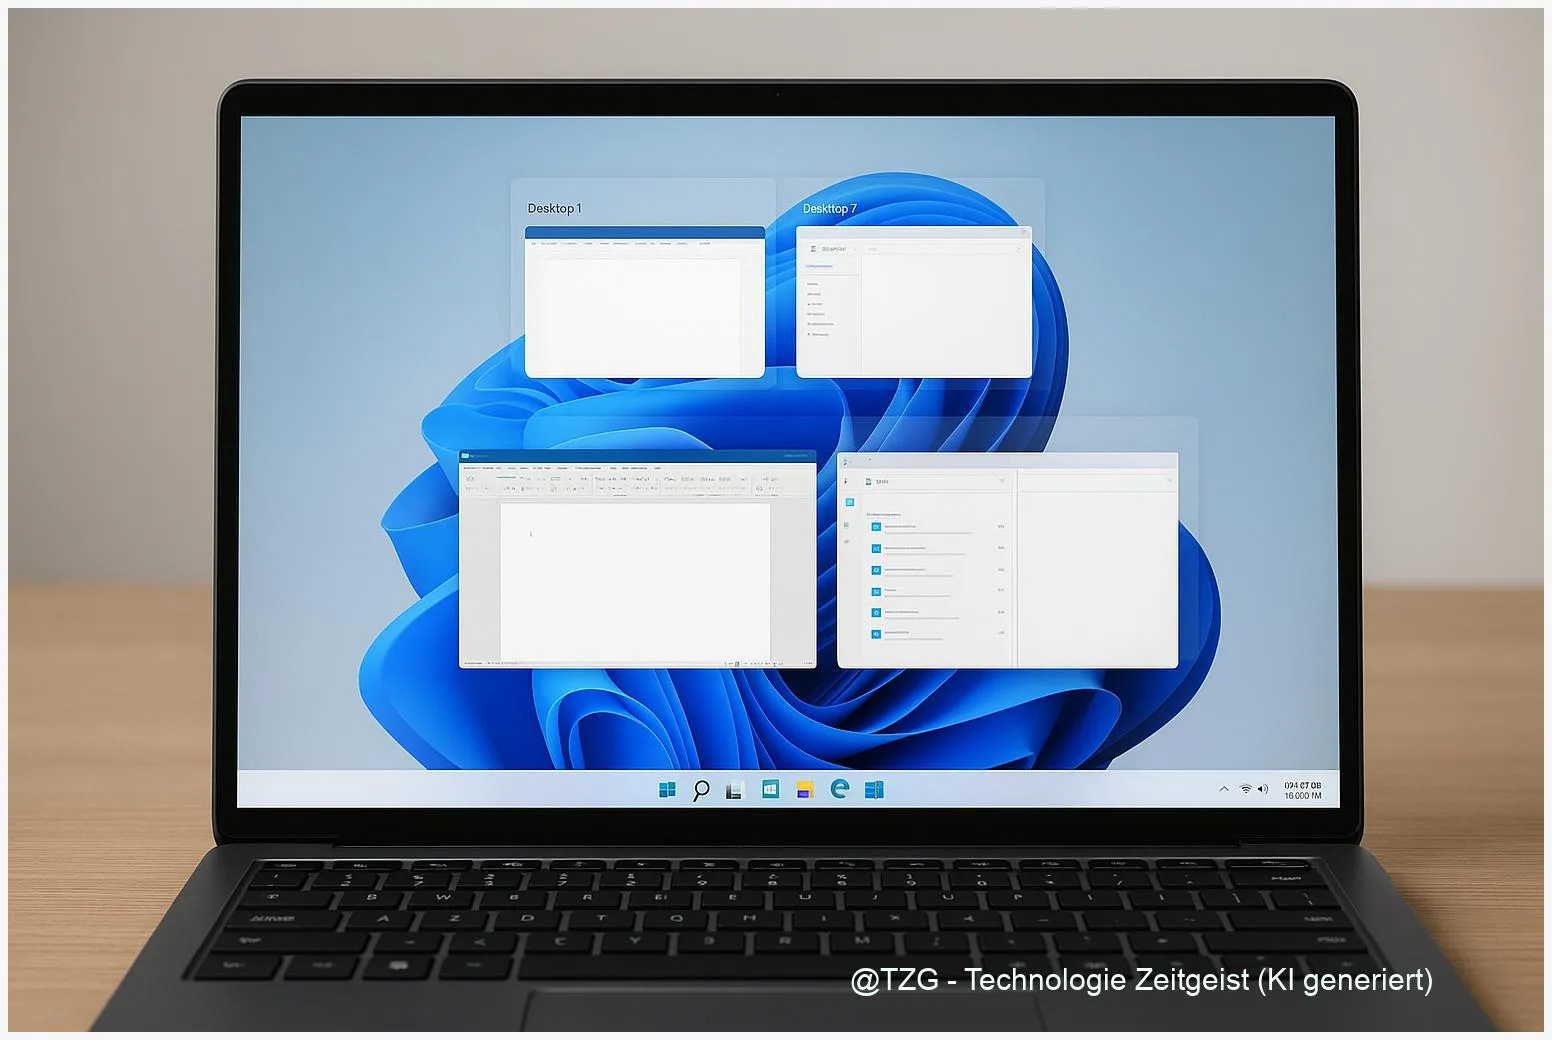
Virtual Desktops are separate desktop spaces on the same PC user account. They are not new Windows accounts, and they do not duplicate your files. Think of them as different “rooms” that can each hold their own set of open windows. You can create, rename, and close them in Task View (opened with Win + Tab).
Snap Layouts (sometimes called Snap Assist) help you place app windows side-by-side without manual resizing. In Windows 11, you can open Snap Layouts by hovering over a window’s maximize button or pressing Win + Z. After you pick a layout, Windows suggests which other open windows should fill the remaining slots.
Use virtual desktops to separate contexts, and Snap Layouts to keep each context readable.
Windows 11 also remembers some arrangements as Snap Groups. That means you can often restore a set of snapped windows from the taskbar, which is especially helpful if you switch between tasks frequently.
| Option or Variant | Description | Suitable for |
|---|---|---|
| Virtual Desktops | Separate sets of windows across multiple desktops (managed in Task View). | Keeping work/school/personal tasks from mixing. |
| Snap Layouts + Snap Groups | Arrange windows into grids and (often) restore them later from the taskbar. | Side-by-side work like writing + research, or chat + calendar. |
Preparation and Prerequisites
Before you start, make sure you can access Task View and that snapping is enabled. You do not need extra apps, and you do not need admin rights for basic use.
- Check you are on Windows 11: Open Settings > System > About and confirm it says Windows 11.
- Turn on snapping options: Go to Settings > System > Multitasking. Enable Snap windows and, if available, the related options such as showing snap layouts when you hover over the maximize button and showing snapped windows in Task View/Alt + Tab.
- Update input habits: If you prefer keyboard, remember these core shortcuts: Win + Tab (Task View), Win + Ctrl + D (new desktop), Win + Ctrl + ←/→ (switch desktops), Win + Z (Snap Layouts), and Win + Ctrl + F4 (close current desktop).
- Know what will happen when you close a desktop: Open apps are not deleted; they move to another desktop when a desktop is closed.
If you use multiple monitors, the same tools still work. You may just want a clear idea of which monitor is your “main” one for the task you are organizing.
Step-by-Step Instruction
The workflow below builds a clean setup you can repeat: create desktops for different contexts, then snap windows into practical layouts inside each desktop.
- Open Task View: Press Win + Tab. You should see your current windows and, at the bottom, a row showing your desktops.
- Create a new desktop: Click New desktop (or press Win + Ctrl + D). Repeat until you have the spaces you need—for example “Work”, “Study”, “Personal”.
- Rename desktops for clarity: In Task View, right-click a desktop thumbnail and choose Rename, or click its name (availability can vary slightly). Clear names reduce mistakes when switching fast.
- Move open windows to the right desktop: Still in Task View, drag a window thumbnail onto the target desktop. Alternatively, right-click a window and use the move option if it’s offered on your system.
- Switch desktops quickly: Use Win + Ctrl + ←/→ to jump between desktops. This is often faster than hunting for windows on one crowded desktop.
- Snap your main app into position: On the desktop you want to organize, pick your main window (for example Word). Hover over its maximize button and choose a Snap Layout, or press Win + Z and pick a layout using the on-screen grid.
- Fill the remaining slots with Snap Assist: After the first window snaps, Windows shows thumbnails of other open windows. Click the one you want in the next slot. Repeat until the layout is filled.
- Restore a Snap Group when you return: If you later open other apps and your layout gets messy, hover over the relevant app icon on the taskbar. When Windows offers a grouped preview, select the group to bring back the whole snapped set.
- Close a desktop you no longer need: In Task View, select the desktop and close it (or use Win + Ctrl + F4). Your open apps will shift to another desktop, so nothing is lost.
If everything worked, each desktop should show only the windows that belong to that context, and within a desktop the main windows should sit in stable, readable tiles.
Tips, Troubleshooting, and Variants
Win + Z does nothing: First check Settings > System > Multitasking and confirm snapping is enabled. If it is, consider whether a third-party tool is intercepting shortcuts (common with some window managers or special keyboard software). Temporarily quitting such tools is a quick test.
Snap Layouts don’t appear on a specific app: Some older desktop apps don’t fully support modern snapping behaviors or have unusual title bars. In that case, try classic snapping with Win + ←/→ to dock left or right, then add another window to the opposite side.
Make desktops feel different: In Task View you can set different desktop backgrounds on many Windows 11 setups. It’s a simple visual cue that prevents “wrong desktop” mistakes during fast switching.
Multi-monitor habit that stays clean: Decide one rule and keep it: either use desktops for contexts (work/personal) regardless of monitor, or use desktops for locations (Monitor 1 for communication, Monitor 2 for creation). Mixing both usually causes confusion.
Privacy and focus: Virtual desktops are not a security feature—someone sitting at your unlocked PC can still switch to another desktop. For privacy, use Win + L to lock the PC when stepping away.
Conclusion
Virtual desktops and Snap Layouts solve the same everyday problem from two angles: too many windows competing for attention. Desktops help you separate different parts of your day so you can focus without closing apps. Snap Layouts then keeps the windows within a desktop readable and consistent, so you spend less time resizing and more time actually doing the task. Once you get used to Task View and a few shortcuts, switching contexts becomes quick and calm—even on smaller laptop screens.
Try setting up two desktops today (for example, “Focus” and “Admin”) and share which Snap Layout you end up using most.


Leave a Reply