Want to pay in stores with your phone or smartwatch without pulling out a physical card? This contactless payments tutorial shows how to set up Apple Pay on iPhone and how to set up Google Wallet on Android, add a card safely, and make your first tap-to-pay purchase. You will also learn what NFC is, which requirements matter most, and what to do if verification or tap-to-pay fails.
Introduction
Contactless card terminals are now common in supermarkets, public transport ticket machines, cafés, and even vending machines. Still, the first time you try to pay with a phone, it can feel uncertain: Do you need to open an app? Where do you hold the device? What if the payment terminal beeps and nothing happens?
Apple Pay and Google Wallet solve the same everyday problem: you can pay by tapping your phone (or smartwatch) on the terminal, while your actual card number is not directly shared with the store. Most of the setup is quick, but it depends on a few basics: a supported bank card, a secure screen lock, and the right NFC settings.
The guide below walks you through preparation, adding a card, and a first test payment, plus the fixes that help most when something does not work on the first try.
Basics and Overview: Contactless payments with NFC
Both Apple Pay (on iPhone and Apple Watch) and Google Wallet (on Android phones and many Wear OS watches) use NFC, short for Near Field Communication. NFC is a very short-range radio connection. In practice, it works when your device is just a few centimeters from the payment terminal.
When you add a card, your bank and the payment network typically create a payment token. That token is a device-specific replacement for your card details. During payment, the device also generates a one-time security code for that transaction. This is one reason tap-to-pay can be safer than handing over a physical card: the terminal does not simply read your card number.
A reliable tap-to-pay setup is mostly about three things: a supported card, a secure screen lock, and NFC being enabled (and allowed to pay).
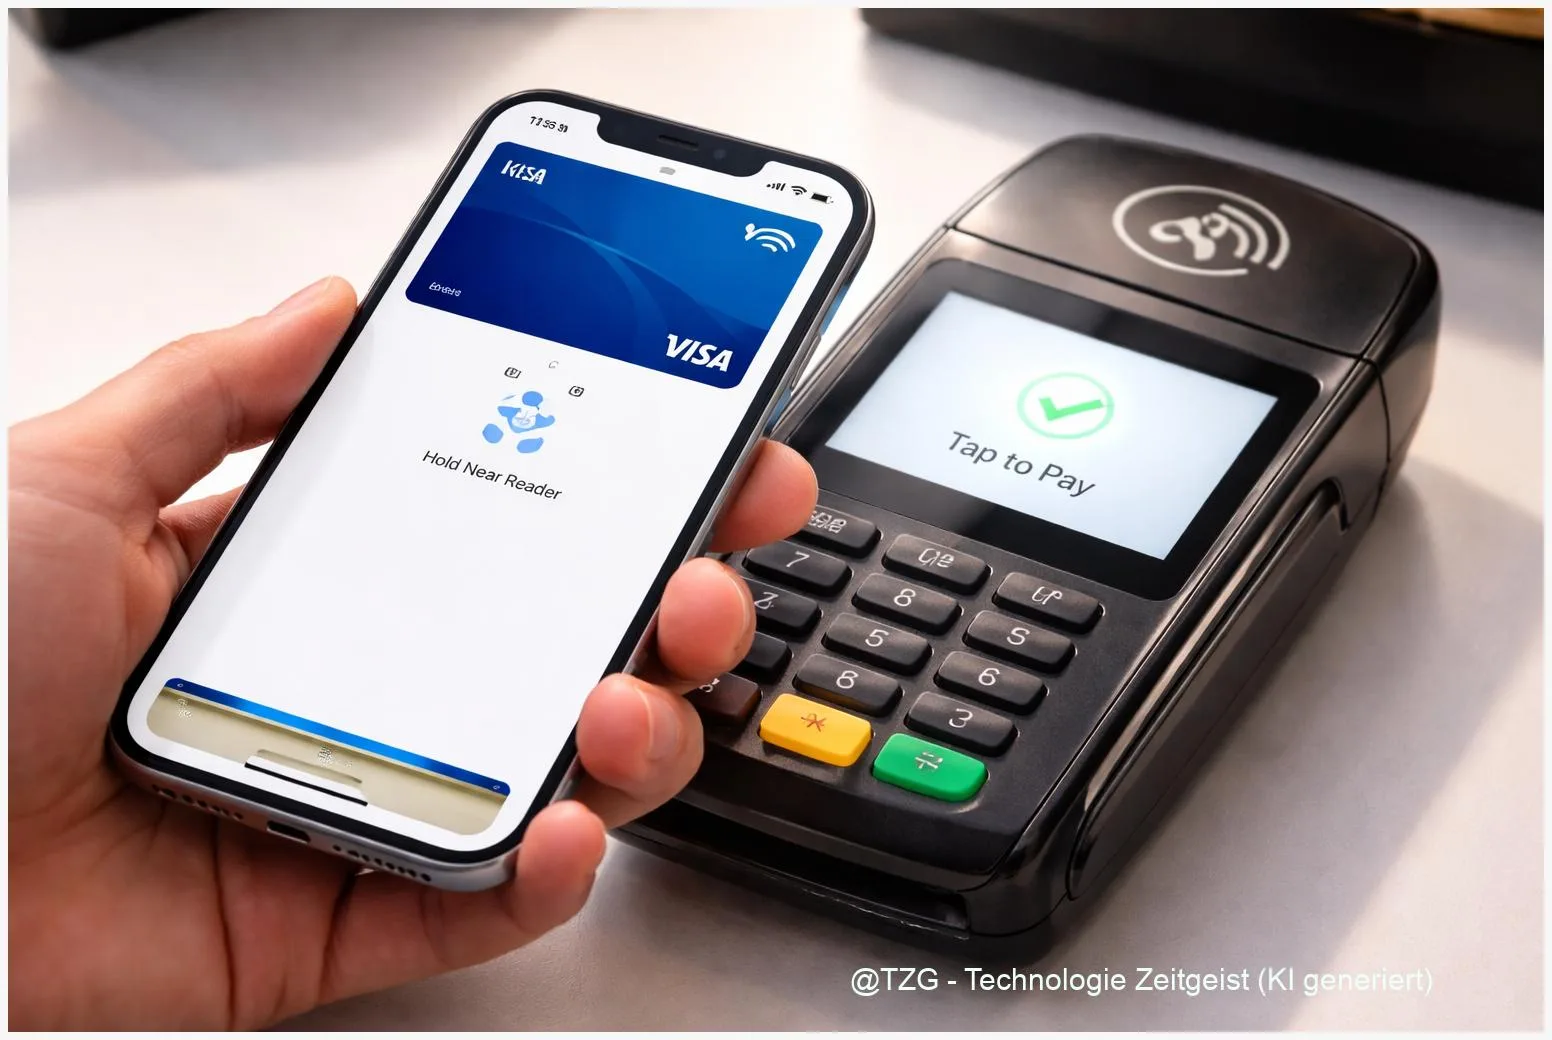
Day to day, the experience is simple: unlock your phone, hold it to the terminal’s NFC area, and wait for confirmation. On iPhone, Face ID or Touch ID typically confirms you. On Android, your screen lock (PIN, pattern, fingerprint, or face unlock, depending on the device) confirms you.
| Option or Variant | Description | Suitable for |
|---|---|---|
| Phone tap-to-pay | Pay by unlocking your phone and holding it near the terminal’s NFC symbol. | Most users; simplest setup and easiest troubleshooting. |
| Watch tap-to-pay | Pay from your wrist once the card is added to Apple Watch or a supported Wear OS watch. | People who often pay on the go and want the fastest checkout flow. |
Preparation and Prerequisites
Before you start adding cards, take two minutes to check the basics. It prevents most setup loops, especially “verification failed” messages.
- Compatible device: iPhone (for Apple Pay) or an Android phone with NFC (for Google Wallet). Many smartwatches also work, but set up the phone first.
- Up-to-date software: Install current iOS/Android updates and update the Wallet/Google Wallet app.
- Secure screen lock: Set a PIN, password, or biometric unlock. Tap-to-pay is usually blocked without it.
- Account signed in: Apple Pay needs an Apple Account signed in on the iPhone. Google Wallet needs a Google Account on Android.
- Supported card and region: Your bank or card issuer must support Apple Pay or Google Wallet in your country/region.
- Connectivity for setup: Wi‑Fi or mobile data helps during card verification with your bank.
If you already have a bank app installed, keep it ready. Many banks verify the card by approving a prompt in their app rather than via SMS.
Step-by-Step Instruction: set up Apple Pay and set up Google Wallet
Follow the steps for your platform. If you use both ecosystems, you can set them up independently; adding a card to one wallet does not automatically add it to the other.
- Apple Pay on iPhone: Open the Wallet app. Tap the + button (usually top right). Choose Debit or Credit Card, then scan your card with the camera or enter details manually. Follow the on-screen prompts.
- Verify the card (Apple Pay): Your bank may ask for verification, for example via banking app approval, SMS, or a phone call. Complete the method shown. When finished, the card appears in Wallet.
- (Optional) Add the card to Apple Watch: On your iPhone, open the Watch app > Wallet & Apple Pay > Add Card, then follow the prompts. Some watches also allow adding directly in the Watch’s Wallet app, but the iPhone route is usually simpler.
- Google Wallet on Android: Open the Google Wallet app. Tap Add to Wallet (or a +). Choose Payment card, then scan or enter the card details and accept your bank’s terms.
- Verify the card (Google Wallet): Complete the bank verification step shown in the app. If you are redirected to your bank’s app, return to Google Wallet afterward and check that the card is listed as ready to use.
- Turn on NFC (Android): Open Settings and search for NFC. Switch it on. Menu names vary by manufacturer, but search usually finds it quickly.
- Set Google Wallet as default for tap-to-pay (Android): In Android settings, look for Contactless payments (often under NFC settings) and choose Google Wallet as the default payment app.
- Make a small test payment: At a contactless terminal, unlock your phone. Hold the back of the phone near the terminal’s NFC symbol. Wait for confirmation: iPhone typically shows a checkmark and “Done”; Android commonly shows a confirmation such as a checkmark.
If everything is set up correctly, the payment terminal should confirm within a second or two. If it takes longer, adjust the position: on many phones, the NFC antenna is near the top or middle on the back.
Tips, Troubleshooting, and Variants
Most issues come down to verification, NFC settings, or device security rules. These fixes cover the common cases without guesswork.
If you can’t add the card: First, confirm your bank supports the wallet on your platform and in your region. If verification fails repeatedly, check whether your bank app needs an update, and try the alternate verification method if offered (for example SMS instead of app approval, or vice versa). If the wallet says the card is unsupported, it is often an issuer limitation rather than a phone problem.
If tap-to-pay does not work on Android: Make sure NFC is on and Google Wallet is set as the default contactless payment app. Also ensure the phone is unlocked; some devices require the screen to be on and unlocked for every payment. If your phone is modified (for example, rooted or running an uncertified build), Google Wallet may block tap-to-pay for security reasons.
If the terminal doesn’t react: Try a different position and hold steady for a moment. Remove thick cases or metal attachments that can interfere with NFC. If possible, test at another store terminal to separate a terminal issue from a phone issue.
Practical everyday tips: Set a preferred default card (in Wallet on iPhone; in Google Wallet by choosing the primary card). Keep your device passcode private, and enable “Find My”/device-finding features so you can lock or erase a lost phone quickly. For shared devices, avoid adding payment cards to profiles you don’t control.
Conclusion
Once Apple Pay or Google Wallet is set up, contactless payments become a small but real everyday convenience: you can pay quickly, keep your physical wallet in your pocket, and still stay in control through secure device authentication. The key steps are always the same: add a supported card, complete bank verification, and make sure the phone’s security and NFC settings allow tap-to-pay. If something fails, it is usually a bank verification step or an Android default/NFC setting—and both are fixable in minutes.
Have you run into a specific error message while setting it up? Share the wording (without personal data) and your device model—others can compare notes and you can troubleshoot faster.


Leave a Reply