If you want to secure home wifi, the most effective changes happen in your router settings: a strong admin password, modern Wi‑Fi encryption (WPA3 or WPA2), disabled WPS, regular firmware updates, and a separate guest network. This guide walks you through those steps in a calm, practical order. Afterward, you will know how to lock down your home Wi‑Fi without breaking your everyday devices.
Introduction
Your Wi‑Fi router is the front door to your digital home. It connects laptops, phones, TVs, smart speakers, and sometimes work devices to the internet. If its settings are weak, strangers might get onto your network, snoop on traffic, or use your connection for activities you do not want linked to you.
The tricky part: most home networks work “well enough” even when the security is outdated. A default admin password, an old Wi‑Fi encryption mode, or a convenience feature like WPS can quietly increase risk for years. And because every router menu looks different, many people never touch the important options.
The good news is that the high-impact fixes are similar across brands. With a short, careful session in your router’s settings, you can make your Wi‑Fi noticeably harder to attack while keeping everyday devices online.
Basics and Overview: secure home wifi in plain router language
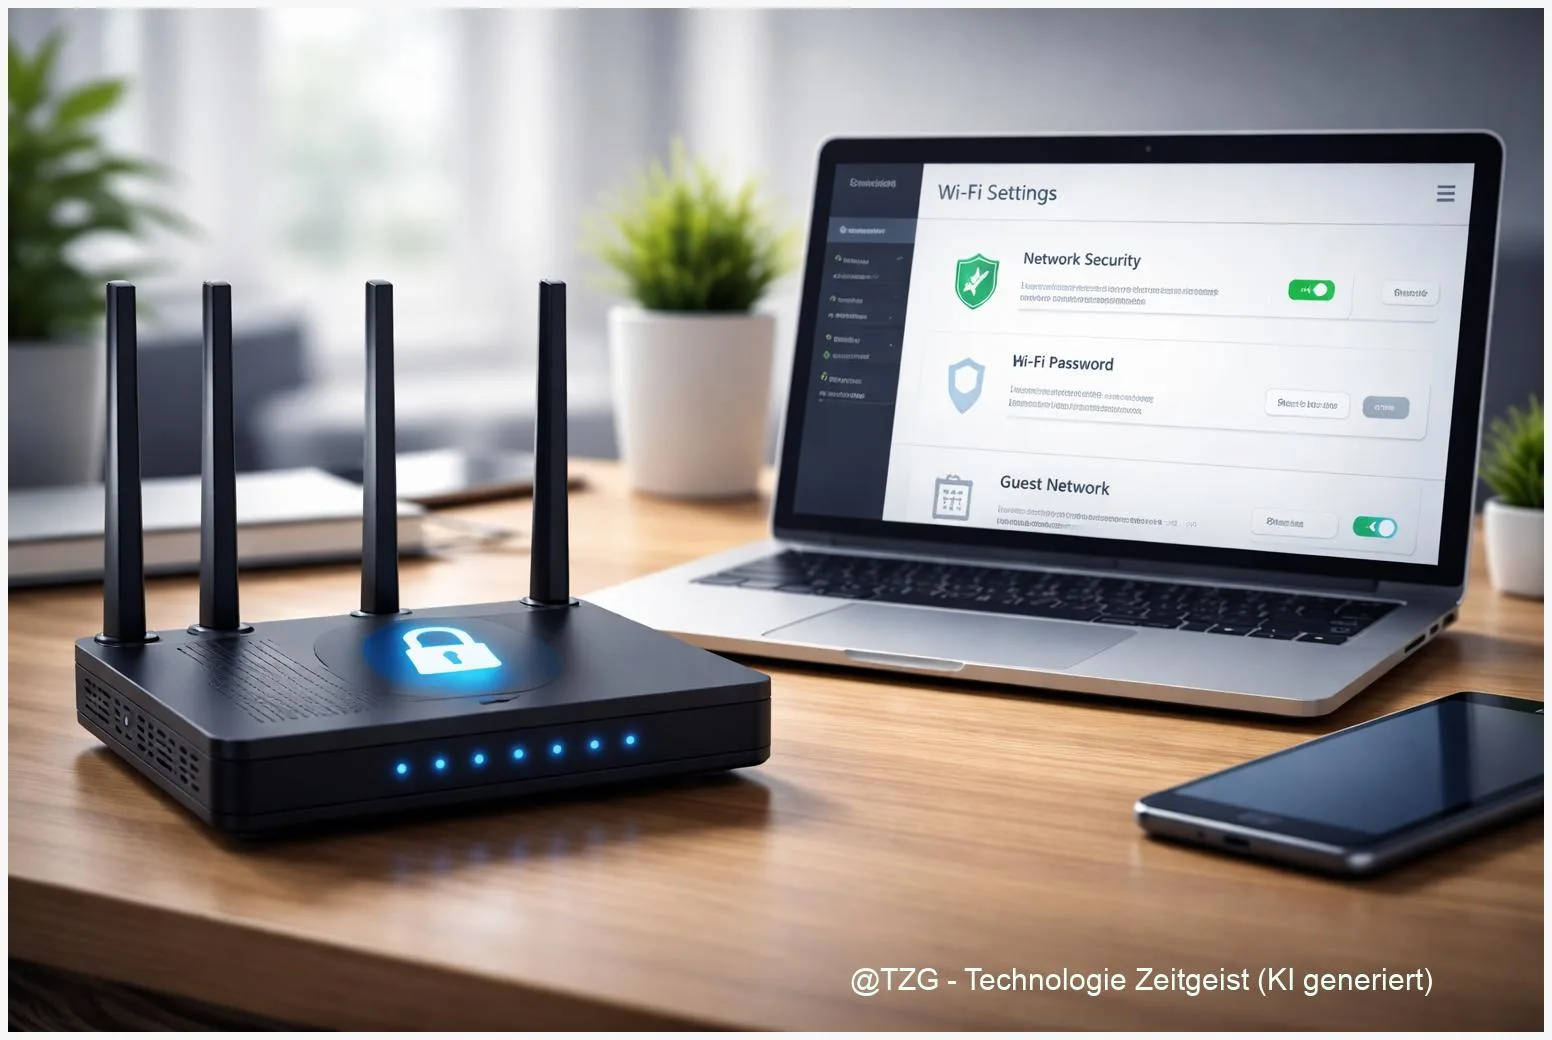
A home Wi‑Fi network usually has two “layers” of protection. First, there is the Wi‑Fi password that guests type in to join. Second, there is the router’s admin login, which controls all settings. Mixing these up is common: changing the Wi‑Fi password does not automatically protect the admin side.
Two terms matter most in modern router menus:
- WPA2 / WPA3: These are Wi‑Fi security standards. WPA3 (introduced by the Wi‑Fi Alliance) improves protection against password guessing attacks and requires protective features for management traffic. WPA2 is still widely used; with a long passphrase it can be acceptable when WPA3 is not supported.
- WPS (Wi‑Fi Protected Setup): A “quick connect” feature, often via a button or an 8-digit PIN. It is convenient, but security agencies commonly recommend disabling it because it can be abused in brute-force attempts.
Your goal is not “perfect security”, but reducing easy entry points: default logins, outdated encryption, and unnecessary remote access.
Also useful: a guest network. This is a separate Wi‑Fi name (SSID) for visitors and sometimes smart devices. Ideally it can reach the internet but not your personal devices like PCs, NAS storage, or printers.
| Option or Variant | Description | Suitable for |
|---|---|---|
| WPA3-Personal (recommended) | Modern Wi‑Fi encryption with stronger protection against offline password guessing; may require newer devices. | Most homes with modern phones, laptops, and Wi‑Fi 6/6E/7 routers. |
| WPA2/WPA3 transition (mixed mode) | Allows older WPA2-only devices while enabling WPA3 for newer ones; convenience with a security trade-off. | Homes with smart home gear or older devices that fail on WPA3-only. |
Preparation and Prerequisites
A few minutes of preparation prevents the classic “I changed something and now nothing connects” moment. Plan for about 20–30 minutes when you can briefly reconnect devices if needed.
- Use a wired connection if possible: Connect a laptop/PC to the router with an Ethernet cable. If you must use Wi‑Fi, stay close to the router so the signal is stable.
- Get the admin access details: Common router addresses are 192.168.0.1, 192.168.1.1, or a vendor name like fritz.box. The admin password may be printed on the router label or provided by your ISP. If you already changed it, use your own password manager entry.
- Know what “normal” looks like: Note your current Wi‑Fi name(s) (SSID) and which devices rely on it (TV, consoles, cameras, smart plugs).
- Prepare strong credentials: Create a unique router admin password and a separate Wi‑Fi passphrase. A practical rule is long and memorable (for example a multi-word passphrase). Security guidance commonly suggests using long passphrases (often around 16–20+ characters).
- Check for a router app (optional): Some brands prefer an app for updates and security checks. Web admin is still the most universal approach.
If your router is very old and no longer gets firmware updates, consider replacing it. Regular security updates are a core safety feature for network devices.
Step-by-Step Instruction
Router interfaces vary, but the security settings are usually under sections like Administration, System, Wireless, Wi‑Fi, Security, or Advanced. Move slowly, and apply one change at a time.
-
Log in to your router’s admin page
Open a browser and enter the router address (for example, 192.168.1.1). Log in with the admin credentials. If your browser warns that the page is “not secure”, you are still likely talking to your router locally; proceed only if the address is your router and not a random website. -
Change the router admin password
Look for Admin Password, Router Password, or Device Password. Set a unique, long password and store it in a password manager. This is one of the highest-impact steps because default passwords are often known or guessable. -
Update router firmware (and enable auto-updates if available)
Go to Firmware Update or Router Update. Install any available update. If there is an option like Automatic updates or Auto firmware update, enable it. Security agencies such as CISA emphasize keeping routers updated to close known vulnerabilities. -
Set Wi‑Fi encryption to WPA3 or WPA2 (AES)
Open your main Wi‑Fi network settings (often separate for 2.4 GHz and 5 GHz). Choose WPA3-Personal if all your devices support it. If some devices are older, use WPA2/WPA3 transition (mixed mode). If WPA3 is not available, choose WPA2-Personal (AES) (avoid older options like WEP or WPA/TKIP). -
Set a strong Wi‑Fi passphrase and save
Change the Wi‑Fi password to a long passphrase you can still type when needed. After saving, reconnect your devices using the new password. -
Disable WPS
Find WPS (sometimes under Wi‑Fi advanced options). Switch it off for all bands. If the router offers “WPS PIN” and “WPS Button”, disable both. This removes a common shortcut attackers try. -
Create a guest Wi‑Fi network (separate password)
Enable Guest Network and give it a clear name, for example “Home-Guest”. Use WPA2/WPA3 where available and set a different password than your main network. Look for options like Allow guests to access local network and keep that disabled, so guests can reach the internet but not your private devices. -
Turn off remote administration from the internet
Search for Remote Management, Web Access from WAN, or Administration via Internet. If you do not actively use it, disable it. Managing your router from inside your home network is safer for most people. -
Review connected devices
Open the device list (often Connected Devices or DHCP Clients). If you see unknown devices, disconnect them, change your Wi‑Fi password again, and consider renaming the network to force a clean reconnect.
When the steps worked, your router should show a current firmware version, WPS disabled, and your Wi‑Fi security mode set to WPA3 or WPA2 (AES). Your main devices should reconnect after entering the new Wi‑Fi password once.
Tips, Troubleshooting, and Variants
If something does not work right away, it is usually a compatibility issue or a missed setting. These fixes solve most home-router headaches without drama.
Problem: A device won’t connect after enabling WPA3.
Switch the Wi‑Fi security mode to WPA2/WPA3 transition (mixed mode). If one very old device still fails, consider placing it on the guest network, or (if your router supports it) creating a separate WPA2-only SSID for legacy gear. Keep your main network on WPA3 when possible.
Problem: You lost access to the router admin page.
Check you are on the home network (not mobile data). Use the router app if it exists. If you changed the admin password and did not save it, you may need a router reset. A reset restores defaults, so you will have to set everything up again.
Tip: Use the guest network for visitors and “unknown” gadgets.
Friends, short-term rentals, and some smart home devices do not need access to your PCs or shared folders. A well-isolated guest network reduces the blast radius if a device is compromised.
Tip: Don’t rely on hiding your Wi‑Fi name.
Options like “hidden SSID” can create annoyances and do not replace proper encryption. Strong WPA2/WPA3 and good passwords matter more.
Variant: Mesh Wi‑Fi systems.
With mesh setups, settings often live in one app for the whole system. The security goals are identical: update firmware, set WPA3 (or mixed), disable WPS if available, and run a guest network.
Conclusion
Strong Wi‑Fi security is mostly about removing easy shortcuts: update your router, protect the admin login, use WPA3 (or WPA2 with AES and a long passphrase), disable WPS, and separate guests from your private devices. None of these steps require special tools, but together they raise the effort for attackers and reduce everyday risk. If one change causes compatibility issues, mixed WPA2/WPA3 or a dedicated guest network usually solves it without giving up the most important protections.
Have you run into a device that refuses WPA3, or found a router setting that was surprisingly hard to locate? Share your experience, and consider trying a guest network next to keep visitors and smart devices neatly separated.


Leave a Reply